Learn how to build a custom employment contract template using HR Command's AI tools and generate a personalized document for a new hire. This guide walks you through the entire process from template customization to finalizing and sending the contract for signature.
1. Navigate to https://secure.hrcommand.com.au
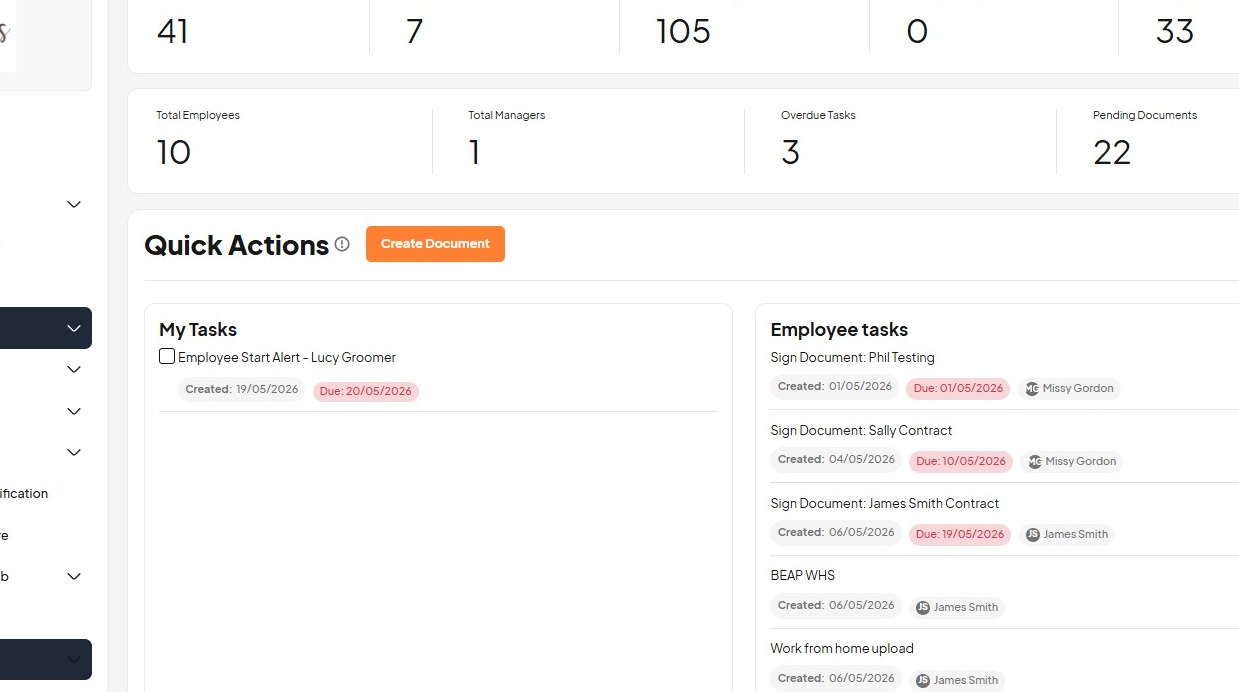
Template Navigation
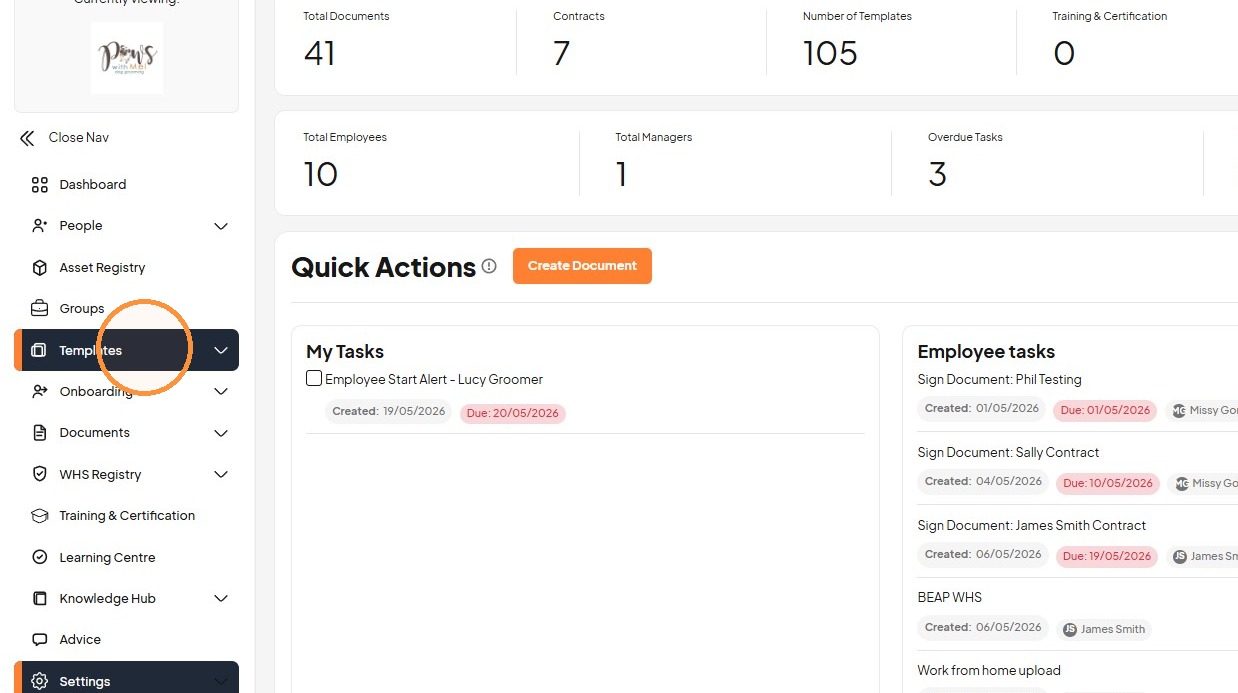
2. Click "Templates"
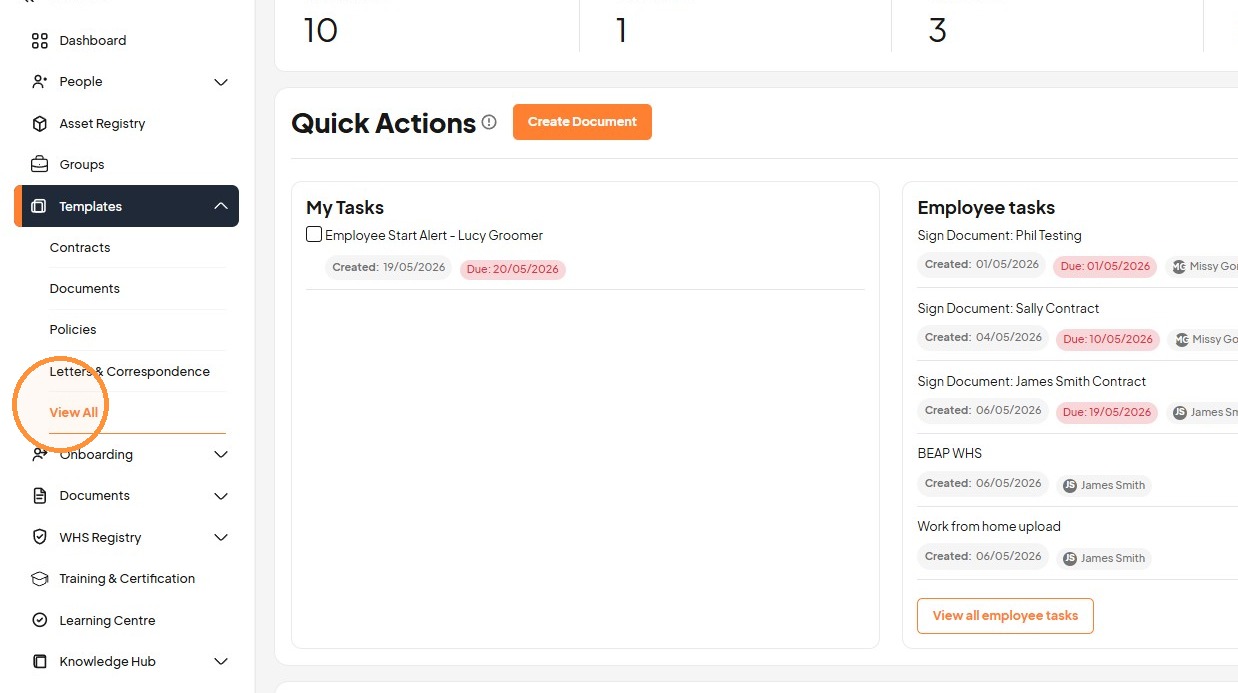
3. Click "View All"
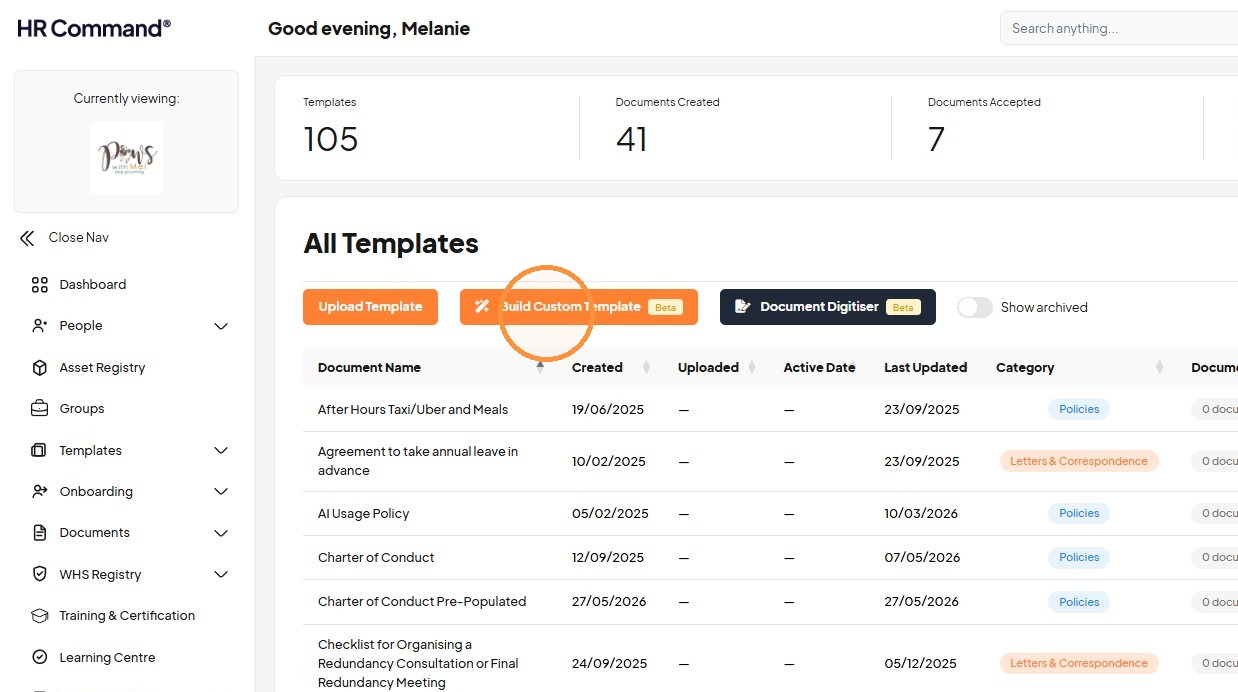
4. Click "Build Custom Template Beta"
Template Editing
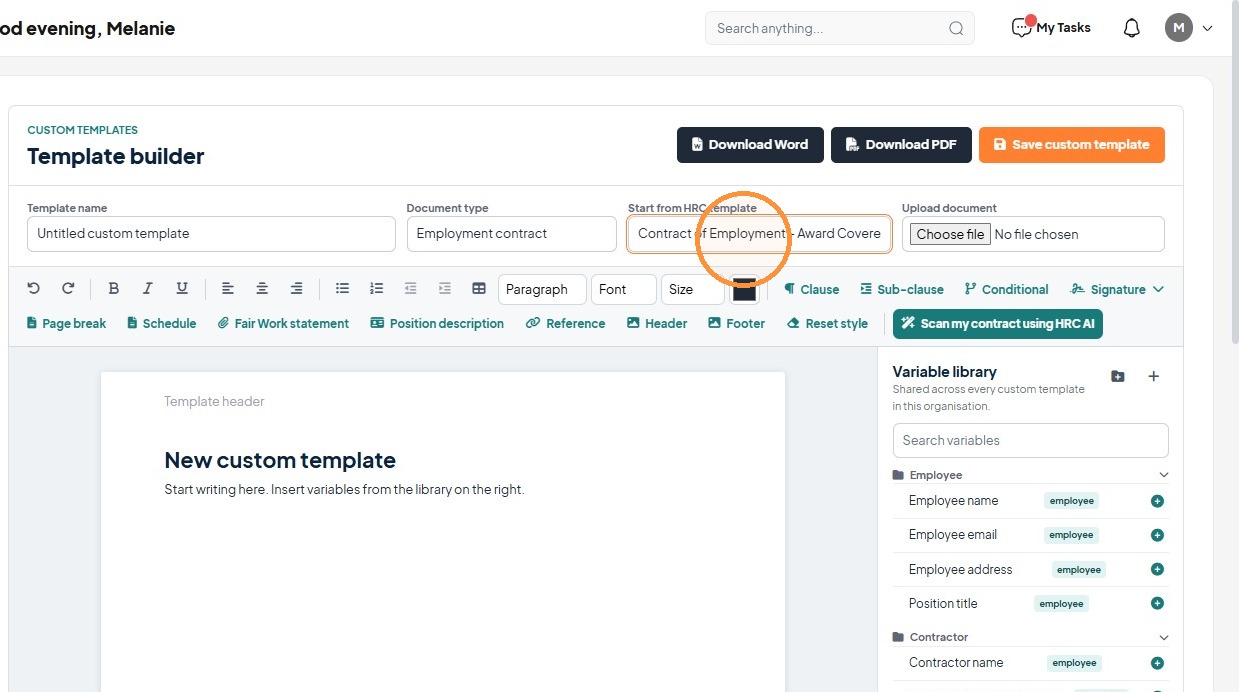
5. Select the "Contract of Employment – Award Covered Full Time (Simple) – Latest" option. Or you can copy and paste your own contract or start from scratch. In this example we are using a HR Command document.
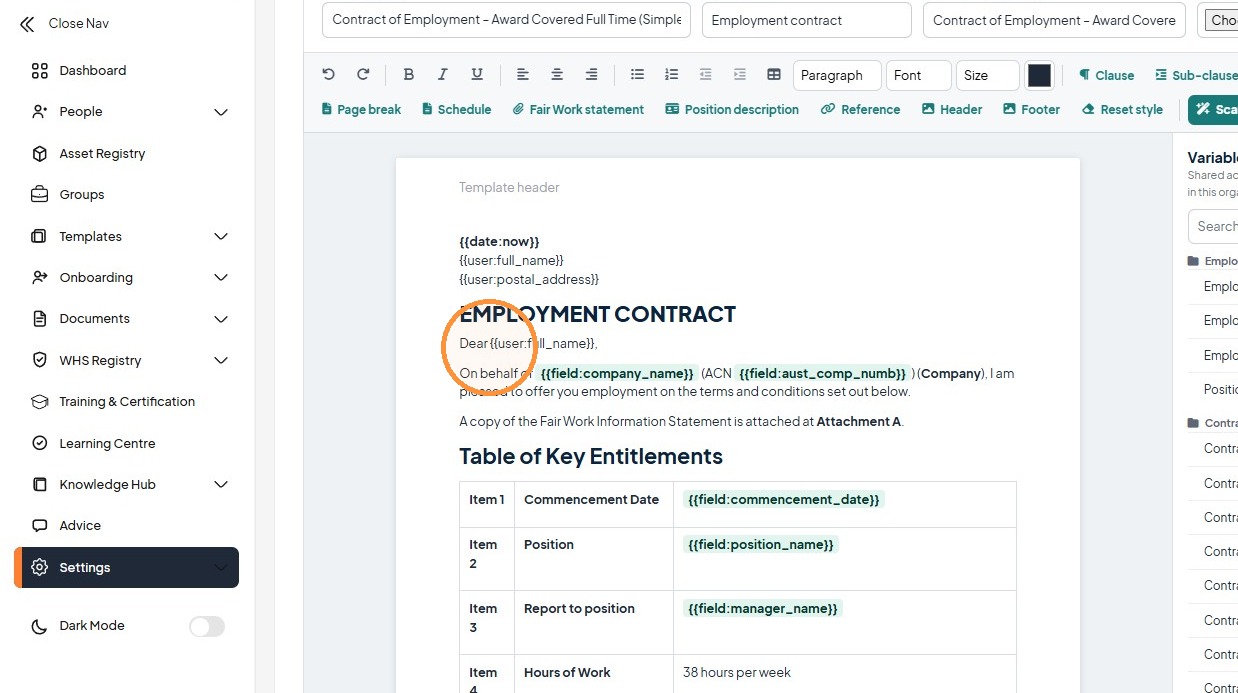
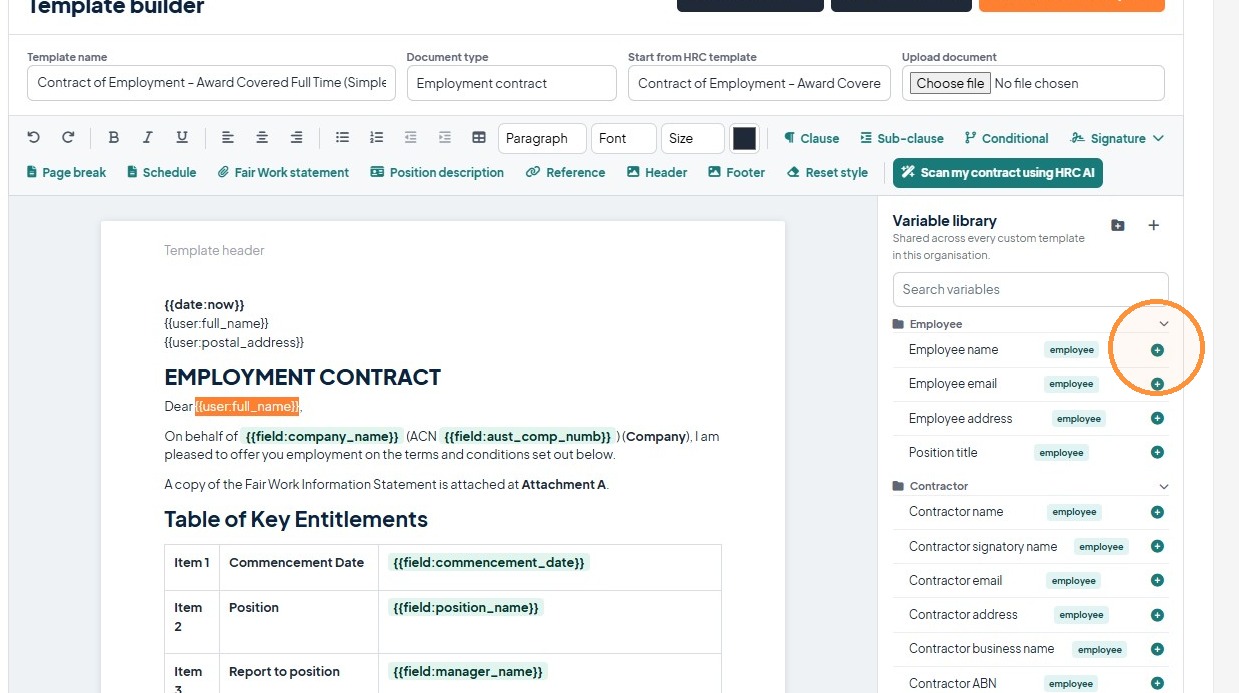
6. Click "Dear [[user:full_name]]," Find and match the fields variables that match your document with the variables on the right hand side.
You can create your own variables using the + symbol top right. You can also create your own folder for all your custom variables.
7. Click here.
8. Click ""
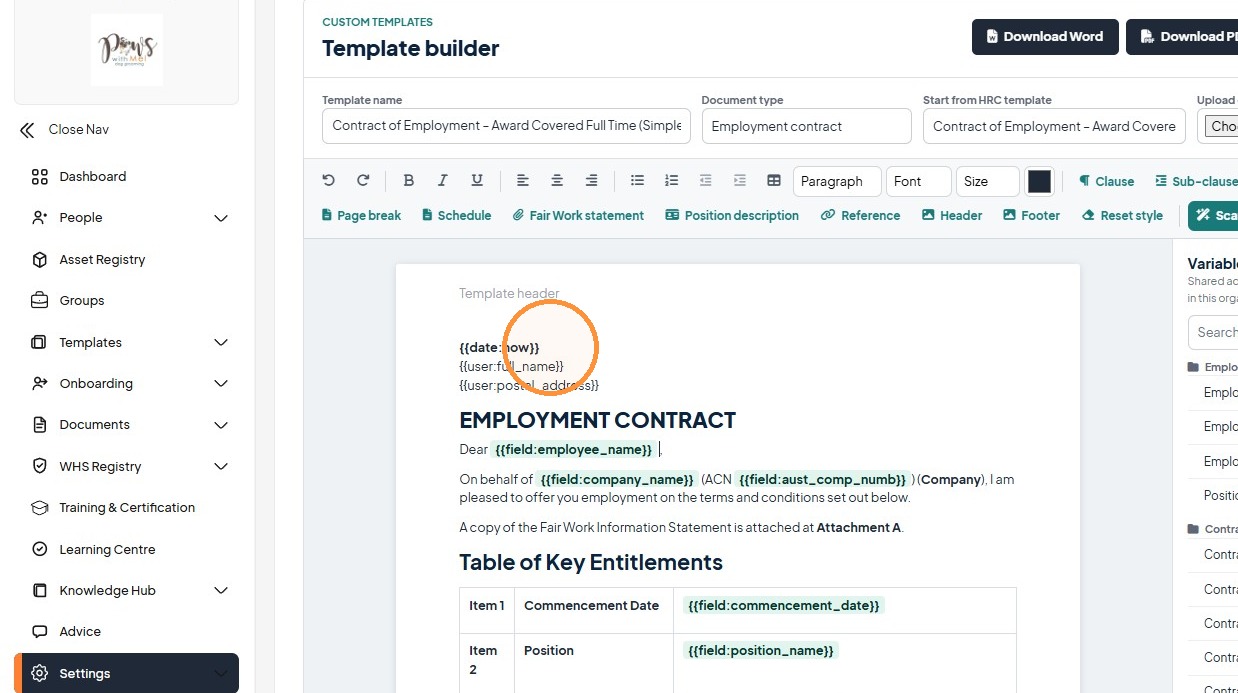
9. Click ""
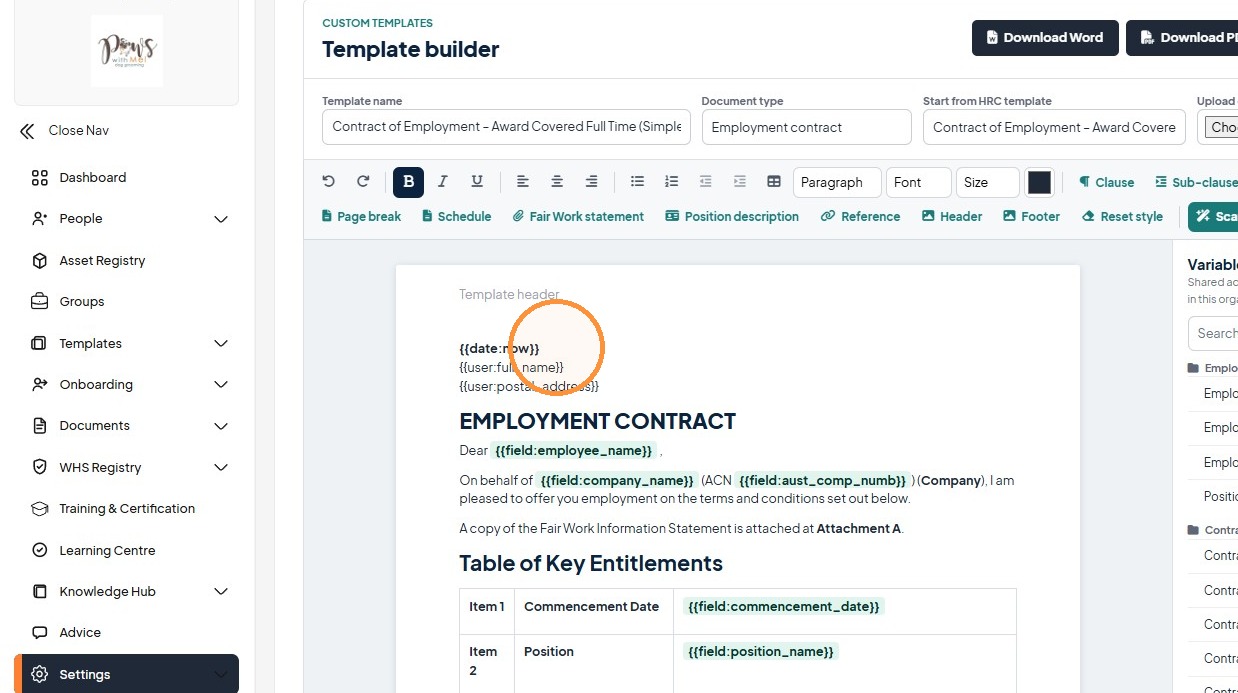
10. Click " "
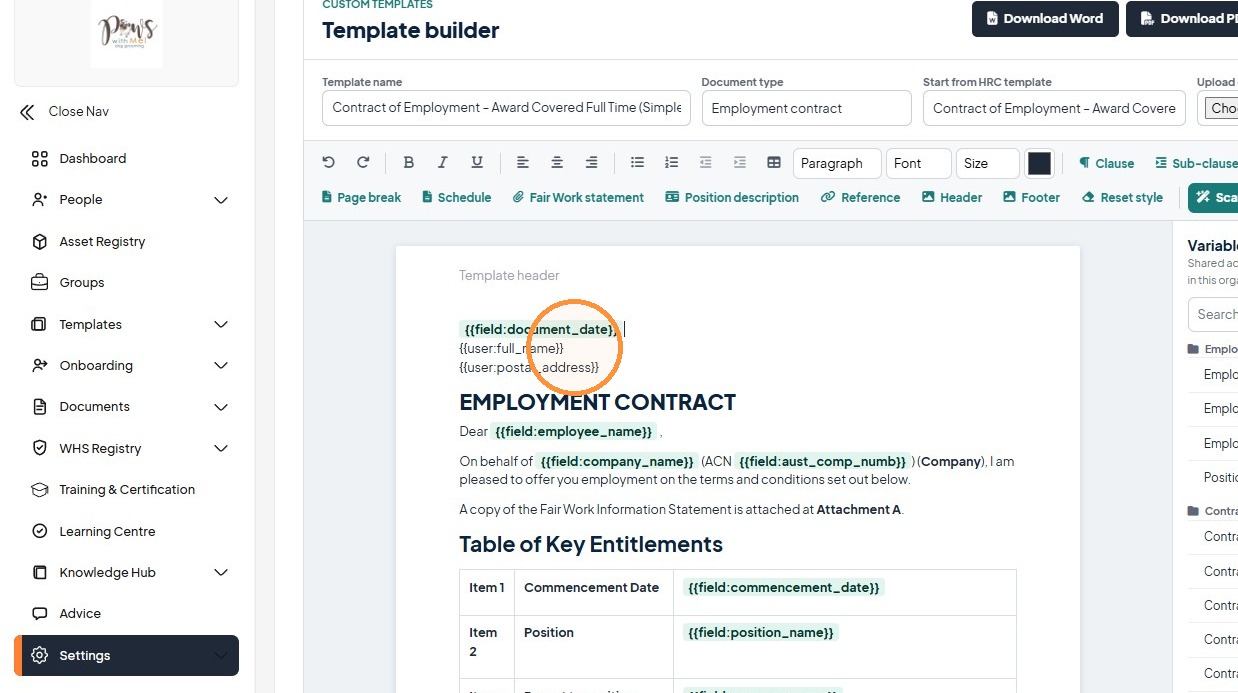
11. Click " "
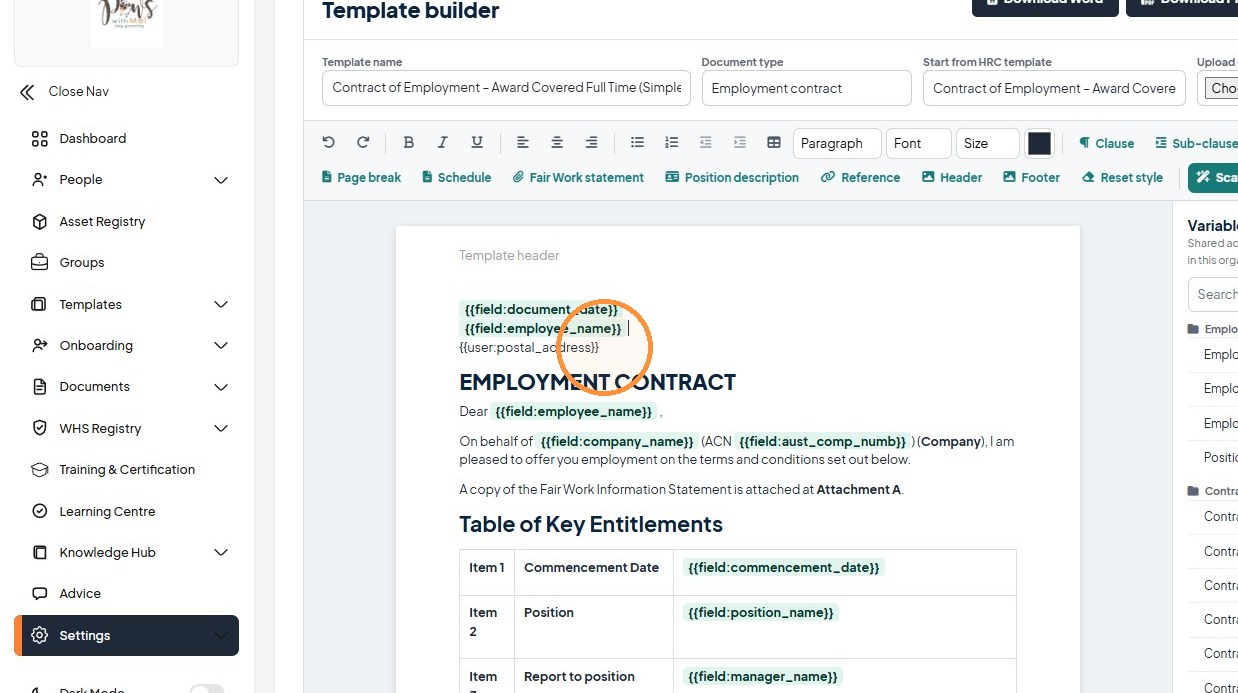
12. Click "38 hours per week"
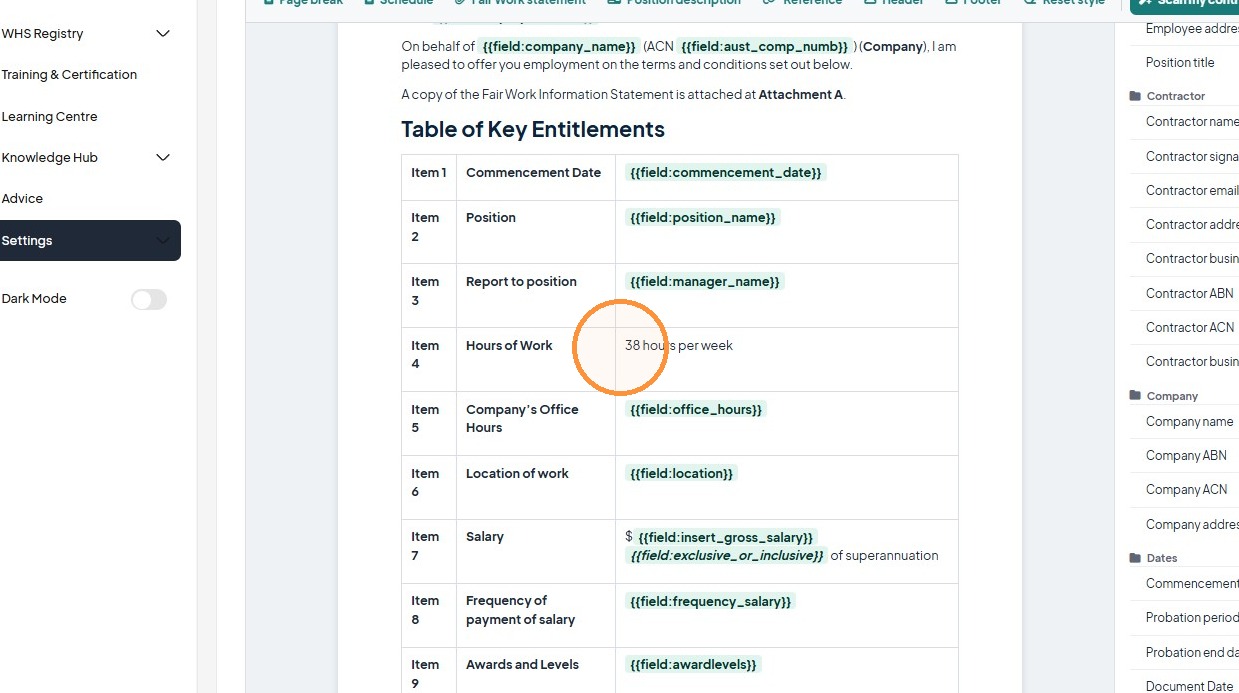
13. Click "38 hours per week"
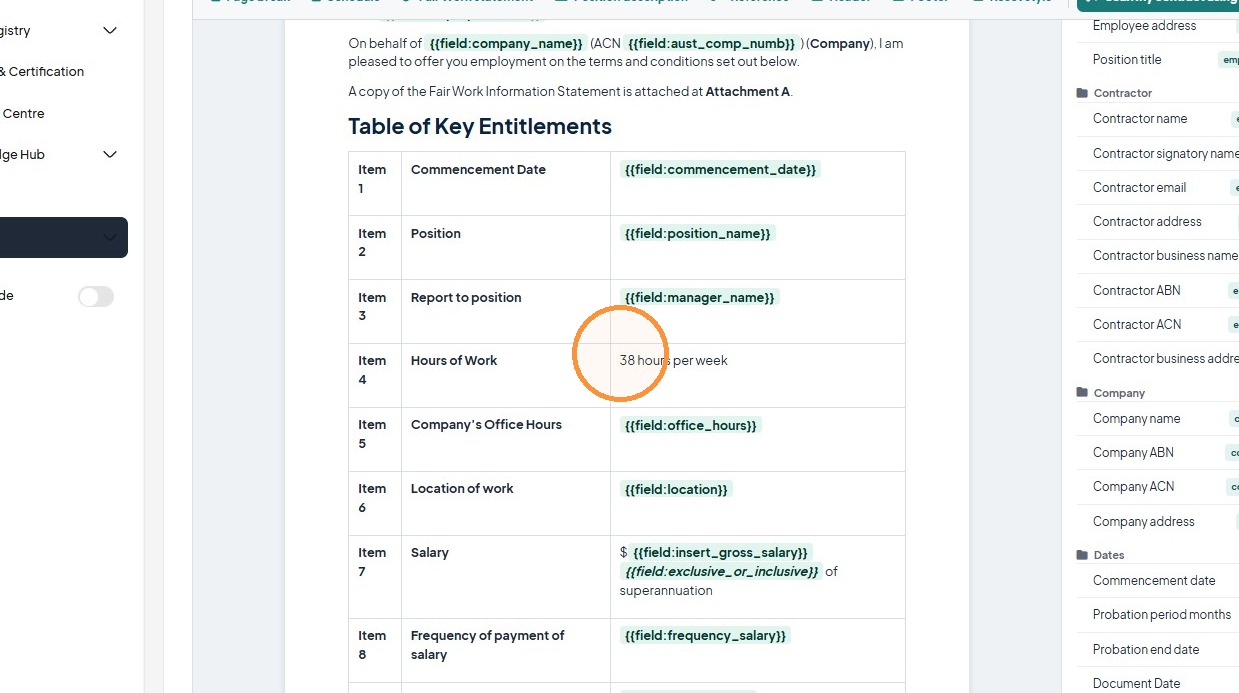
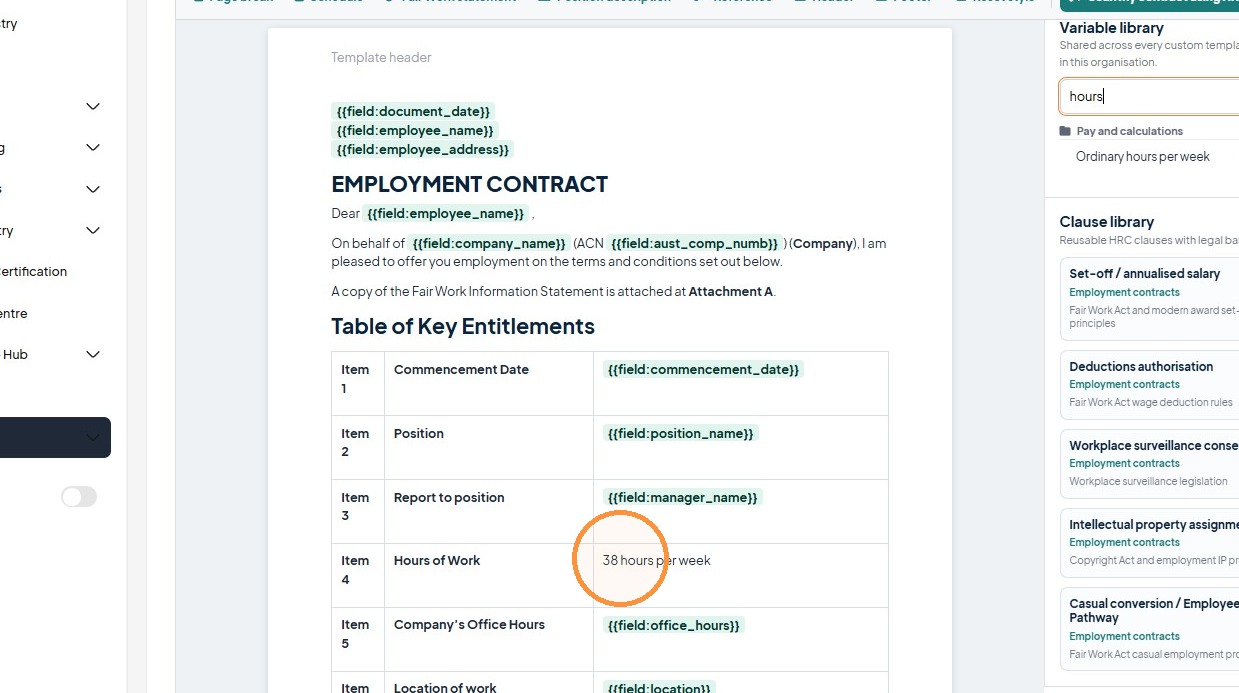
14. Search for variales e.g "hours" in the Search variables field
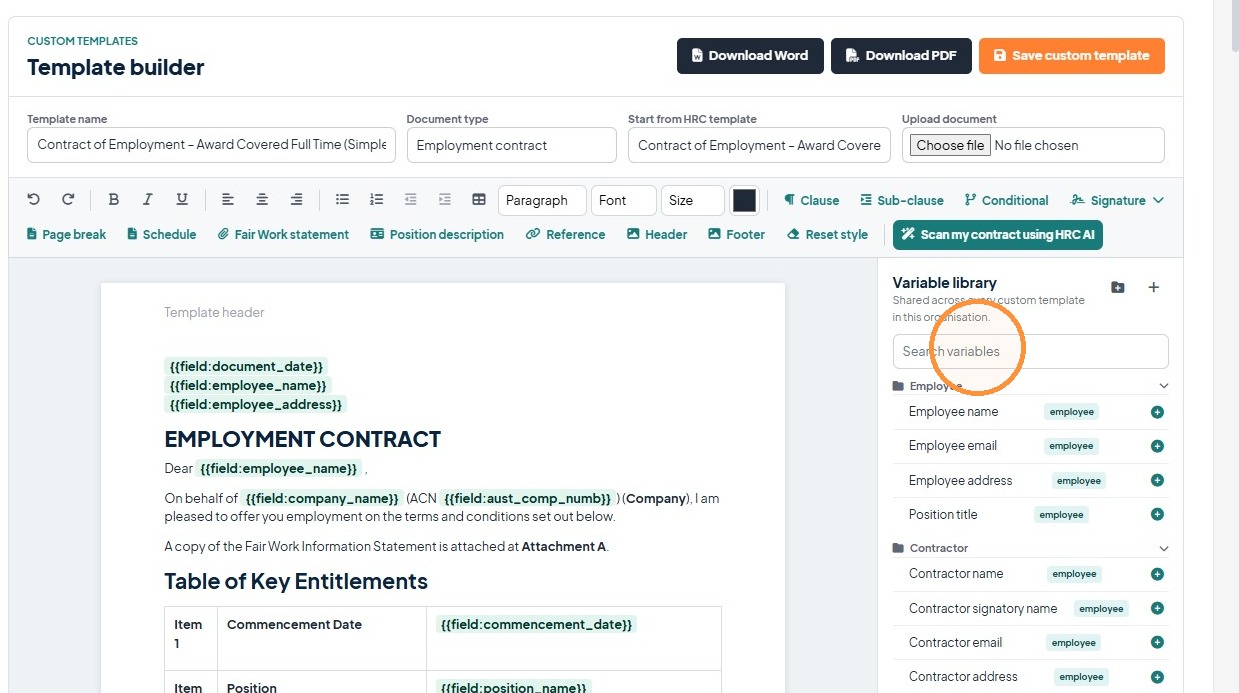
15. Click "38 hours per week"
16. Click this button.
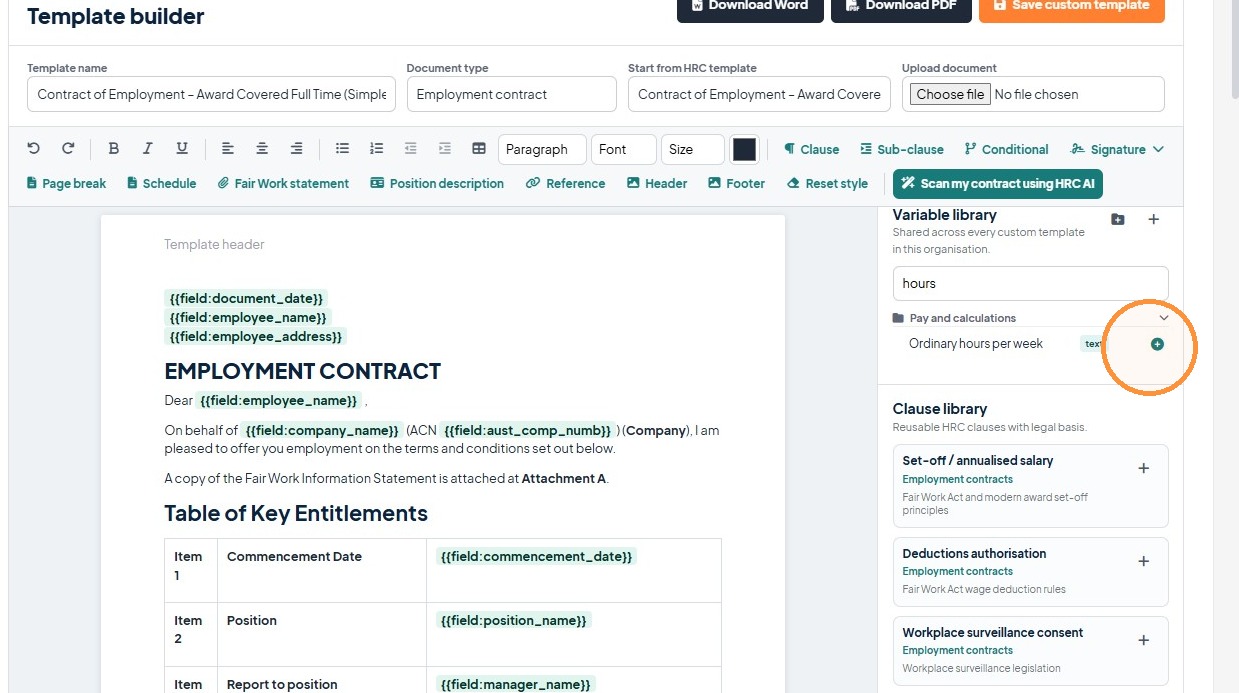
17. You can add your own signature areas. Remove any items where you would like to add the signatures.
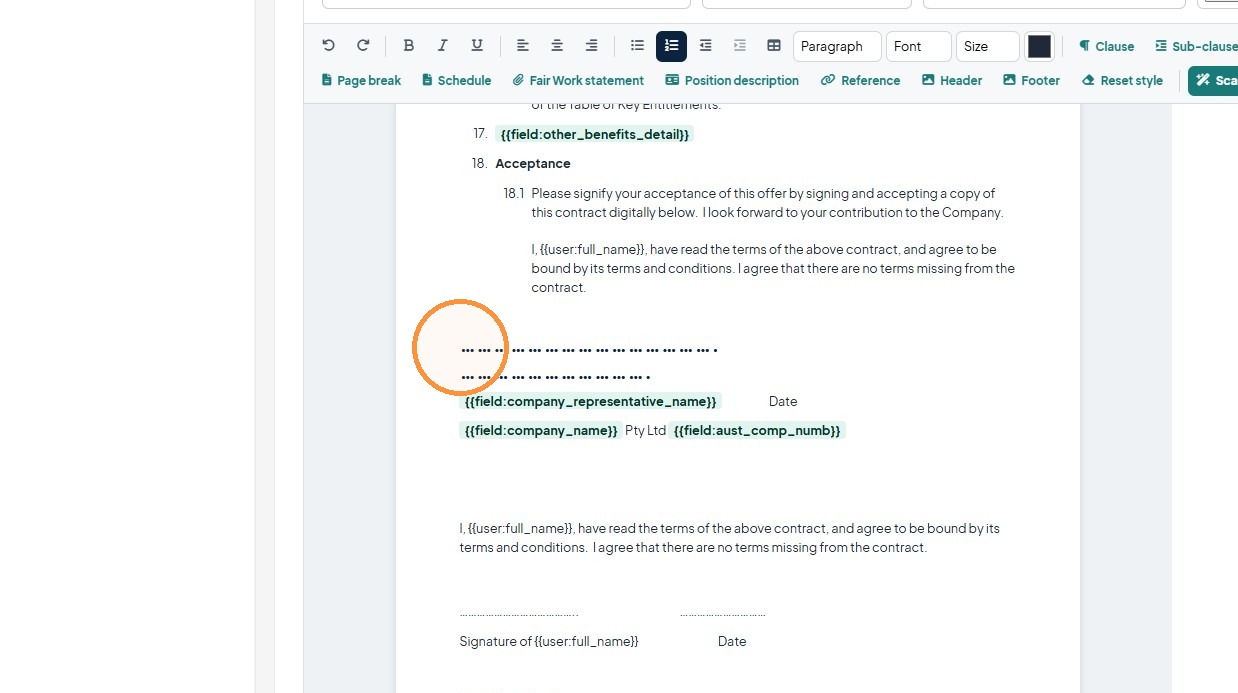
18. Click "Signature" you have options for basic or advanced. Advanced is commonly used for wet signatures and require a witness.
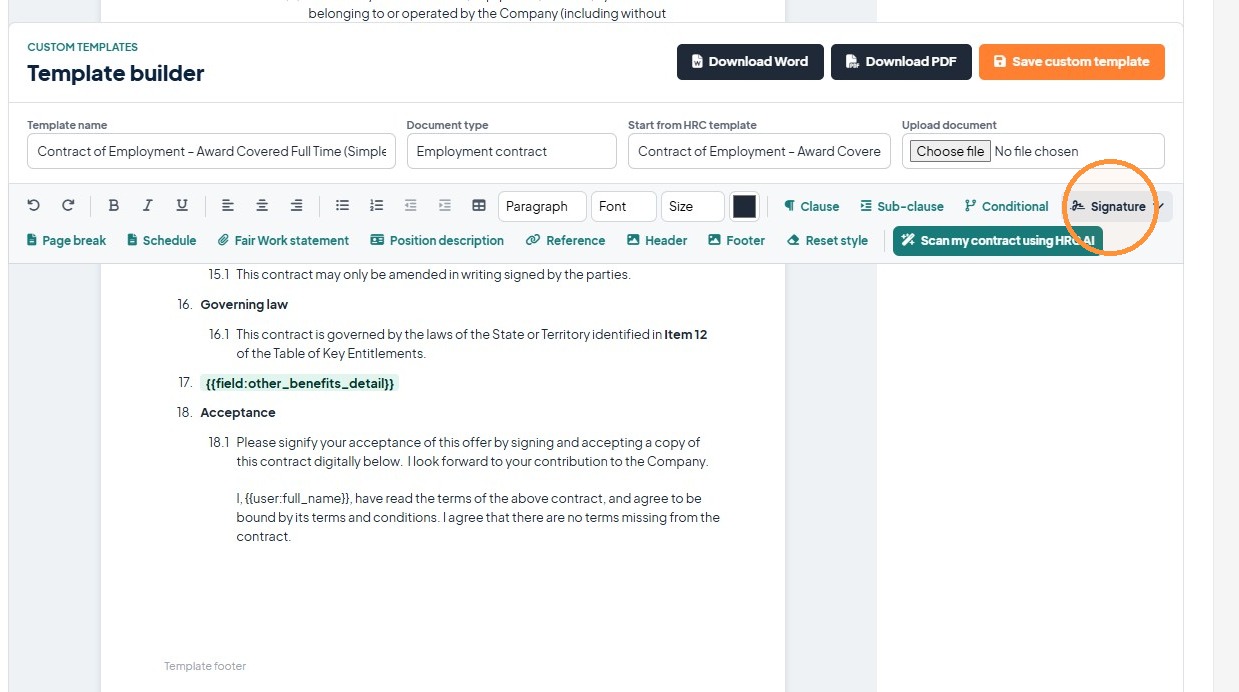
19. Click "Basic Signature block"
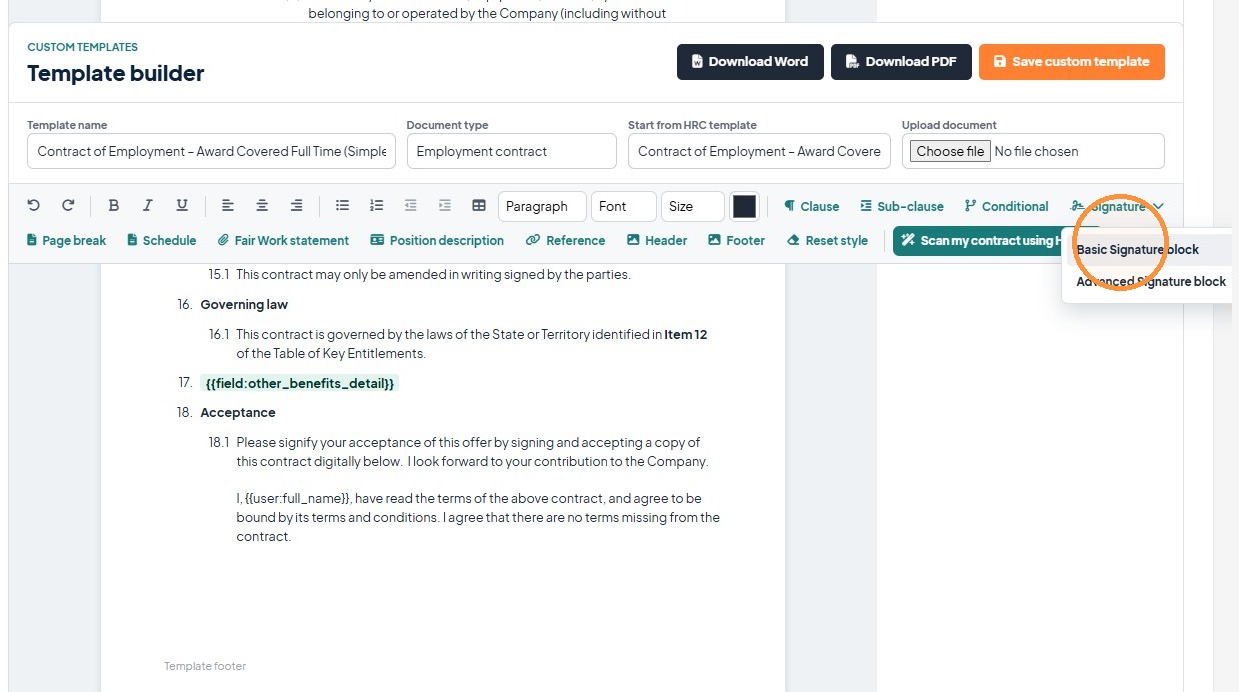
20. The signature block appears with the Signatory and Employee Signature options (this will appear as an acceptance and signature box when shared.
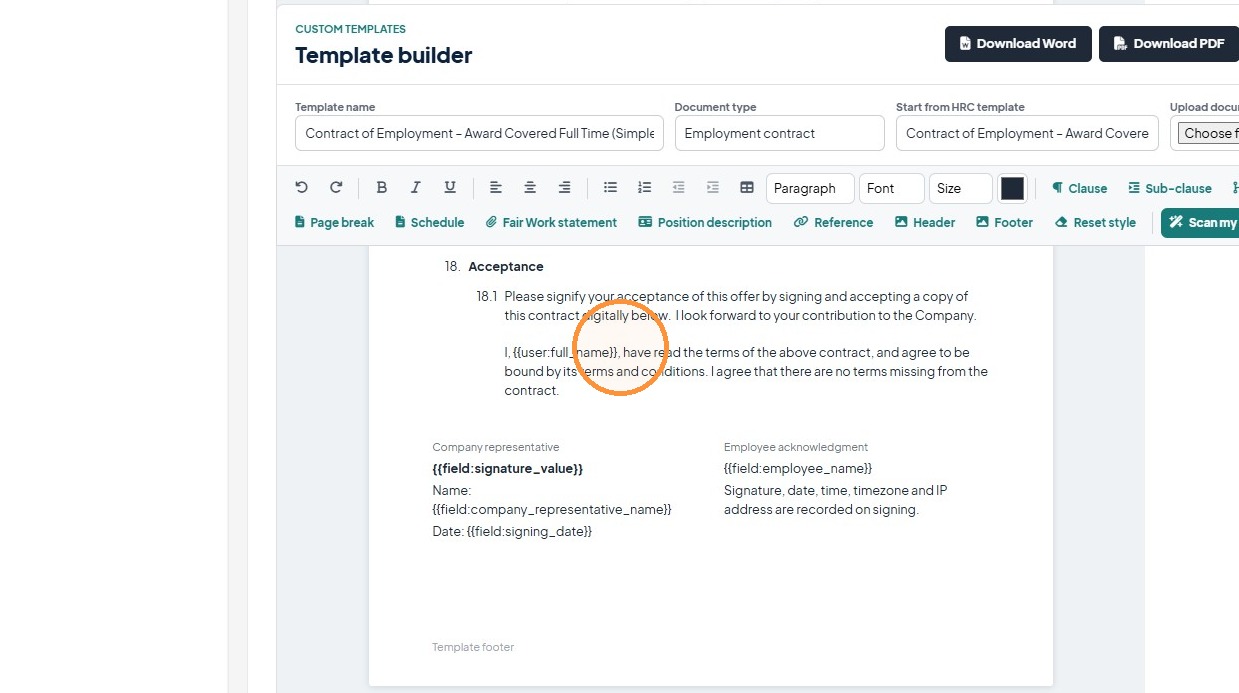
21. Click "Scan my contract using HRC AI"
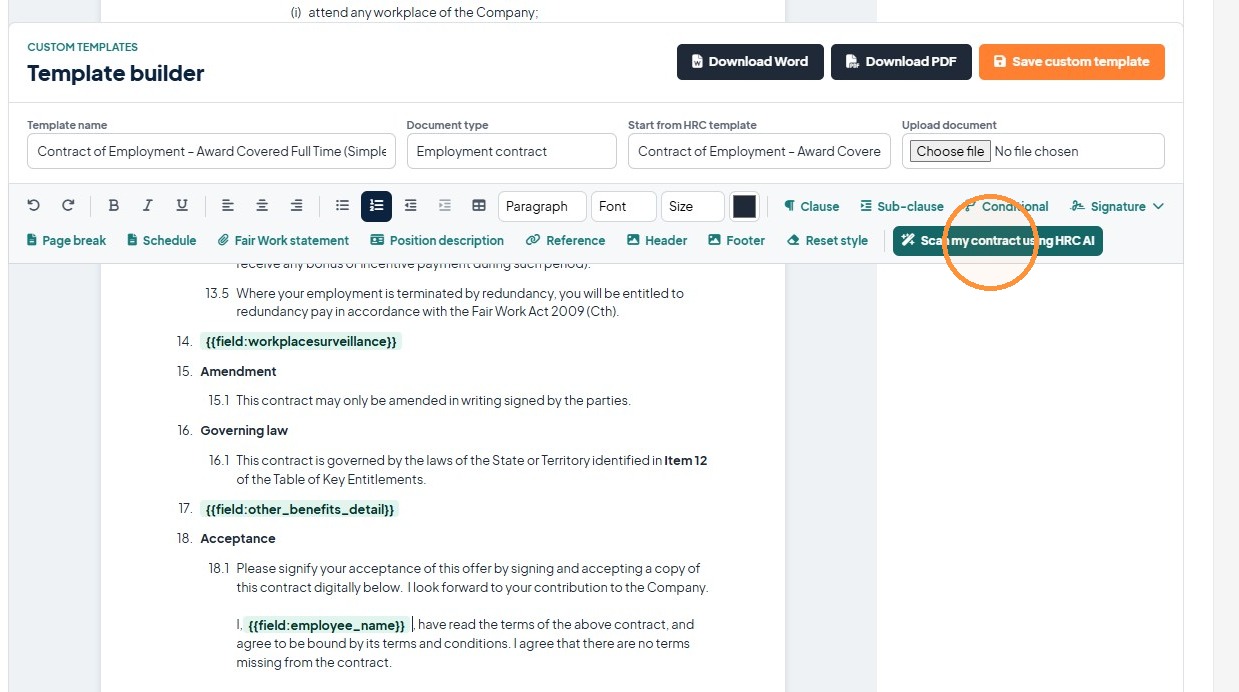
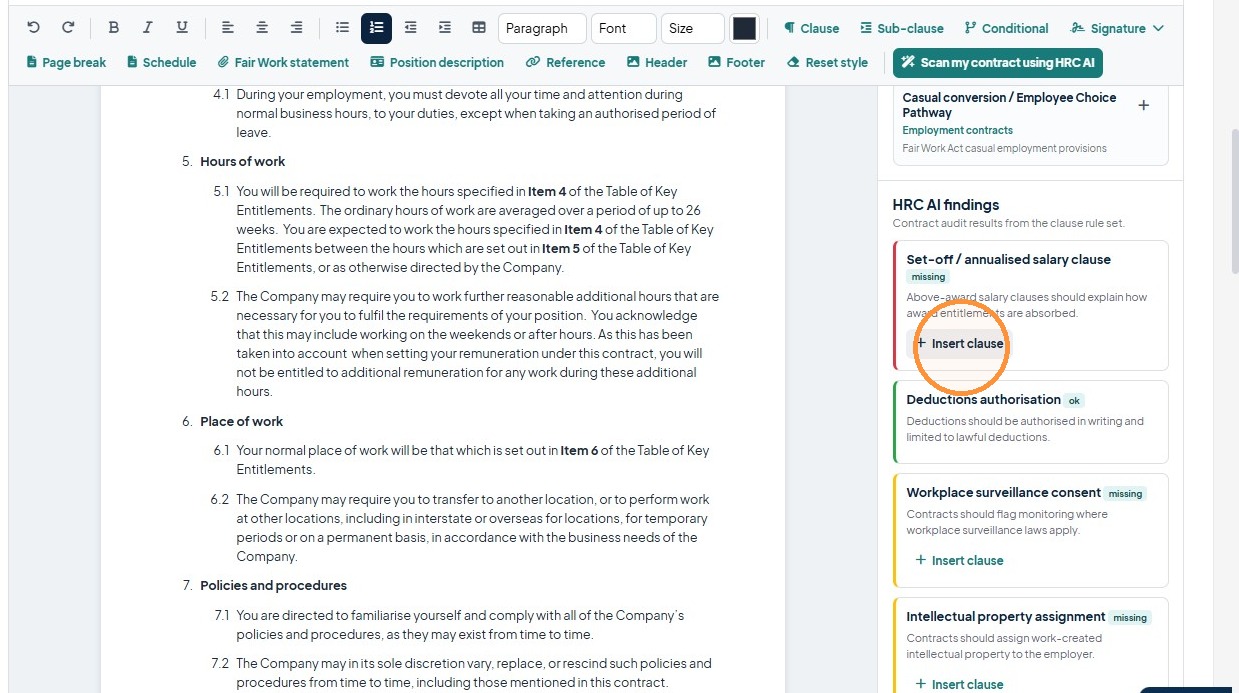
22. You can make space and add recommendations from the HR Command AI
Click "This contract is governed by the laws of the State or Territory identified in Item 12 of the Table of Key Entitlements."
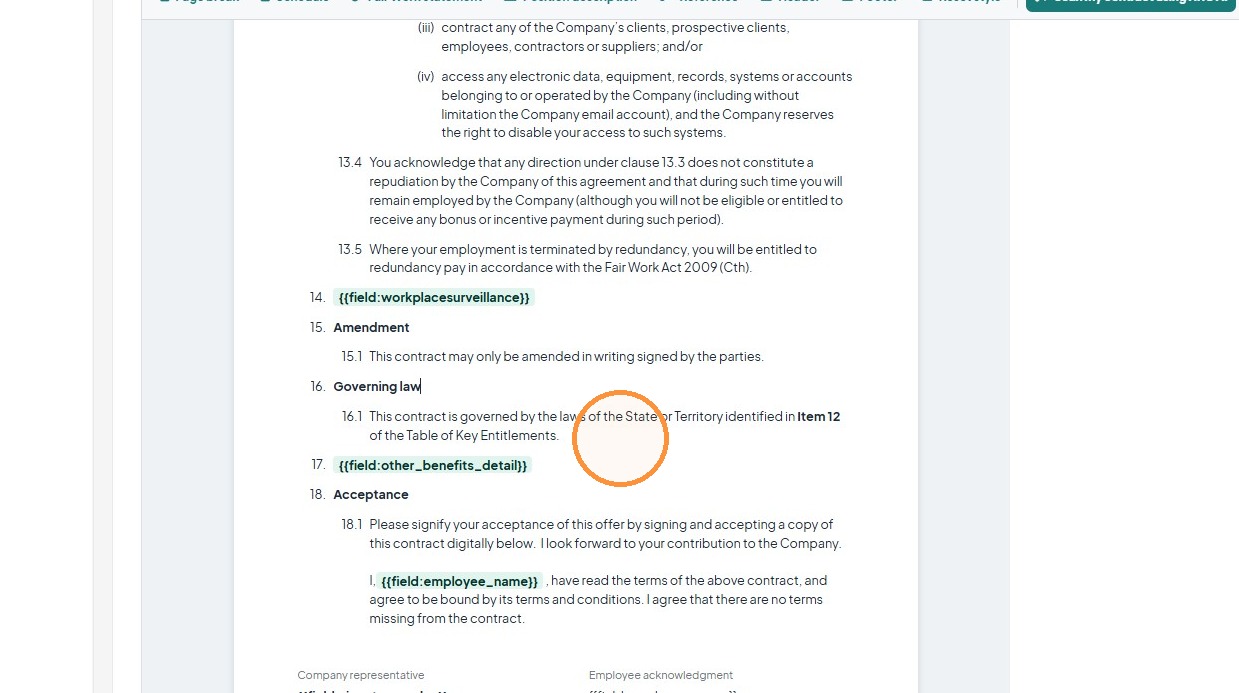
23. Click "Insert clause"
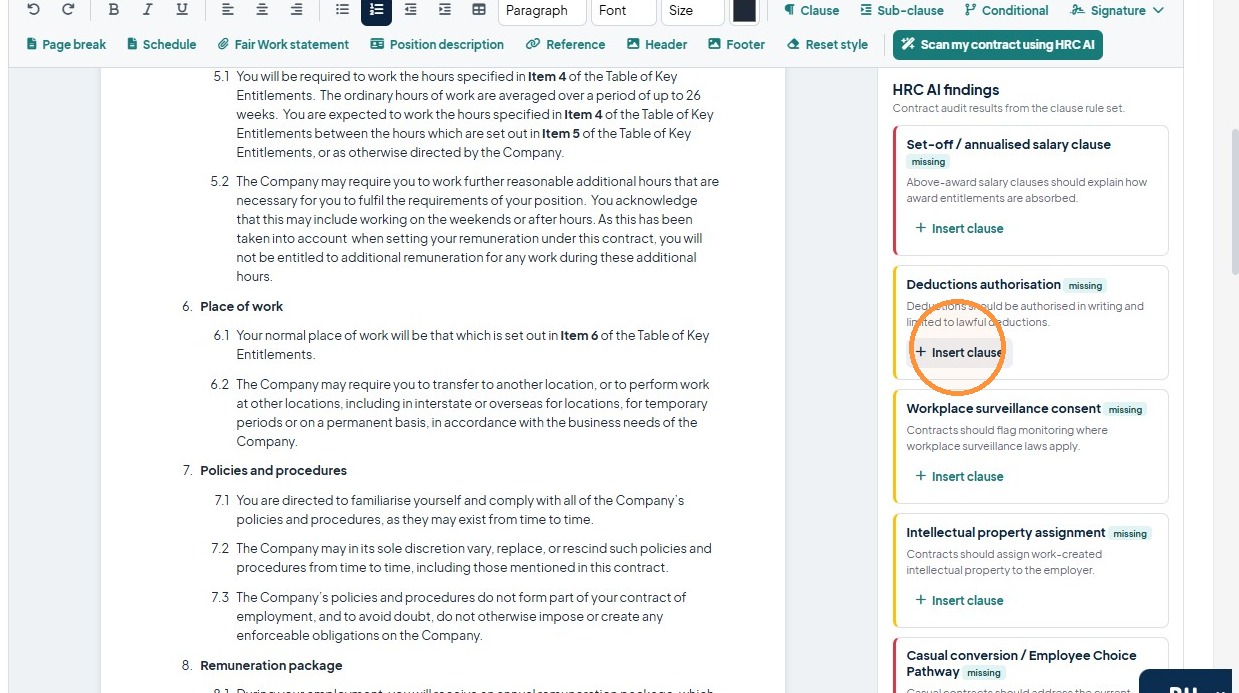
24. Click "Scan my contract using HRC AI"
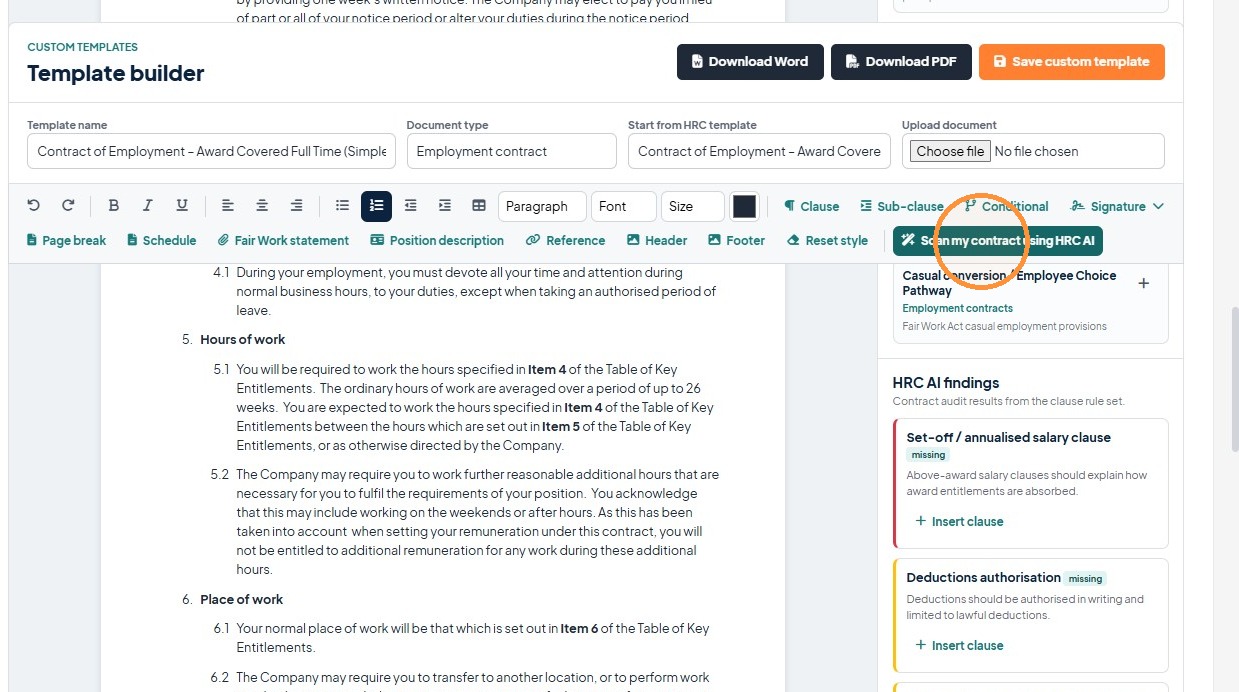
25. Click "Insert clause"
26. Change the template name so its easy to find.
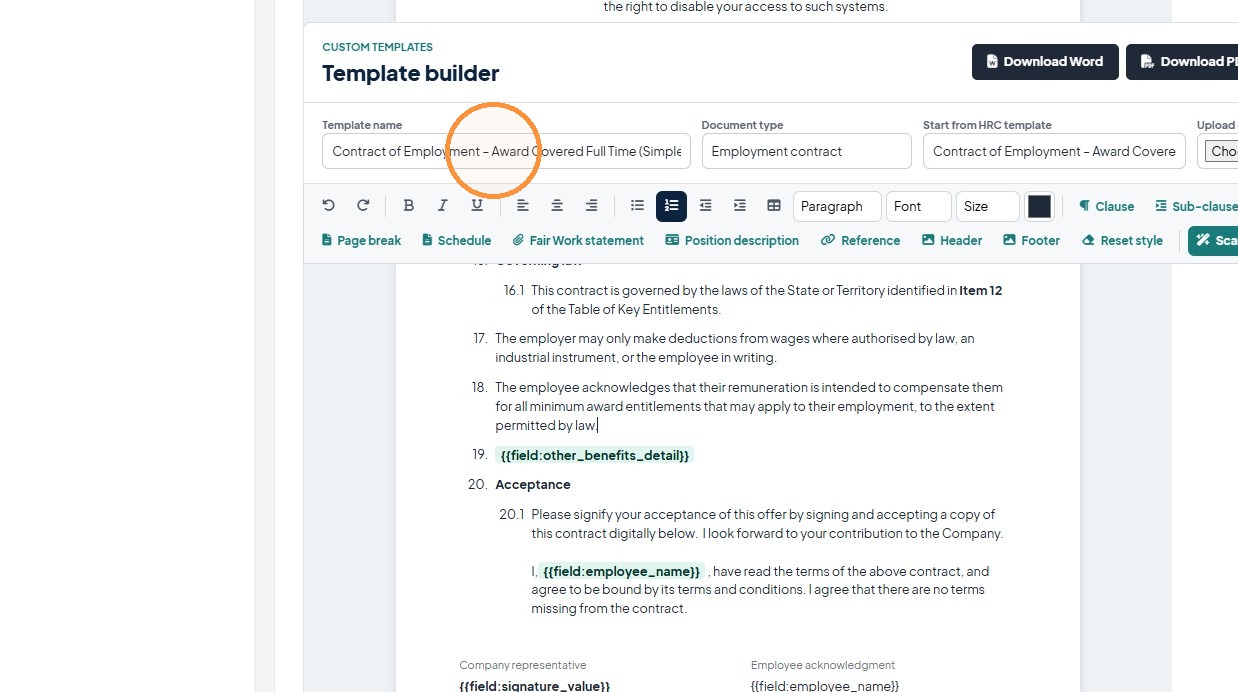
27. Click the "Template name" field.
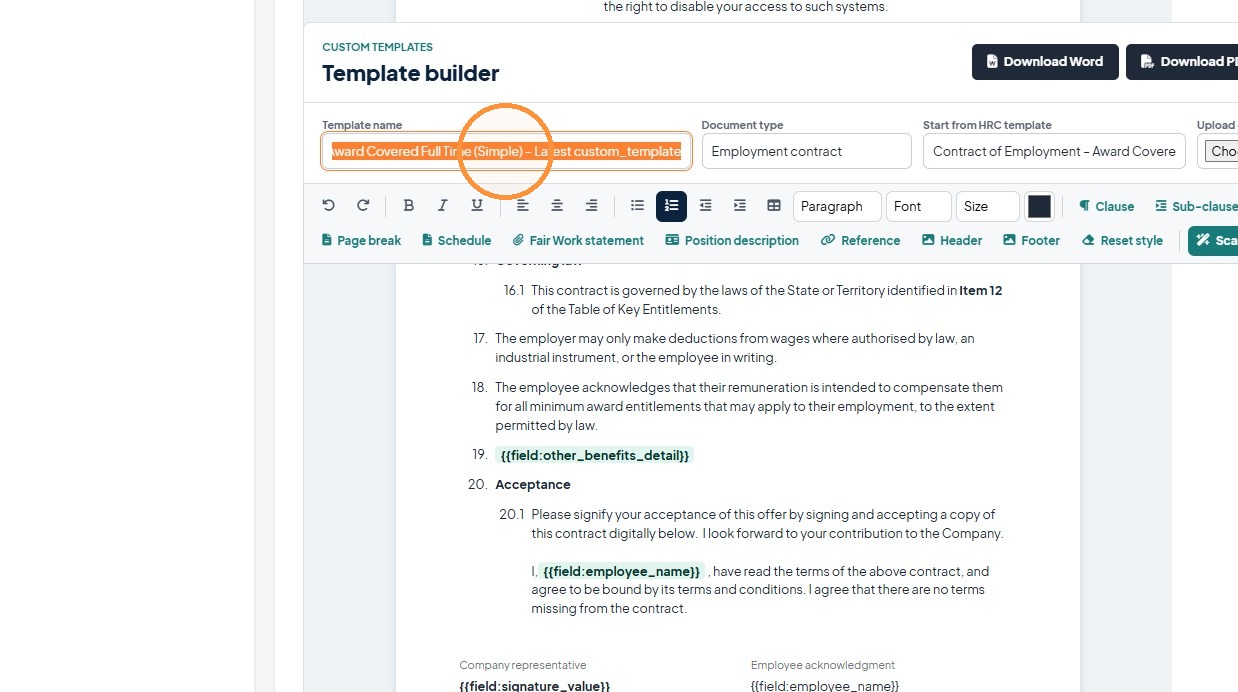
28. Double-click the "Template name" field.
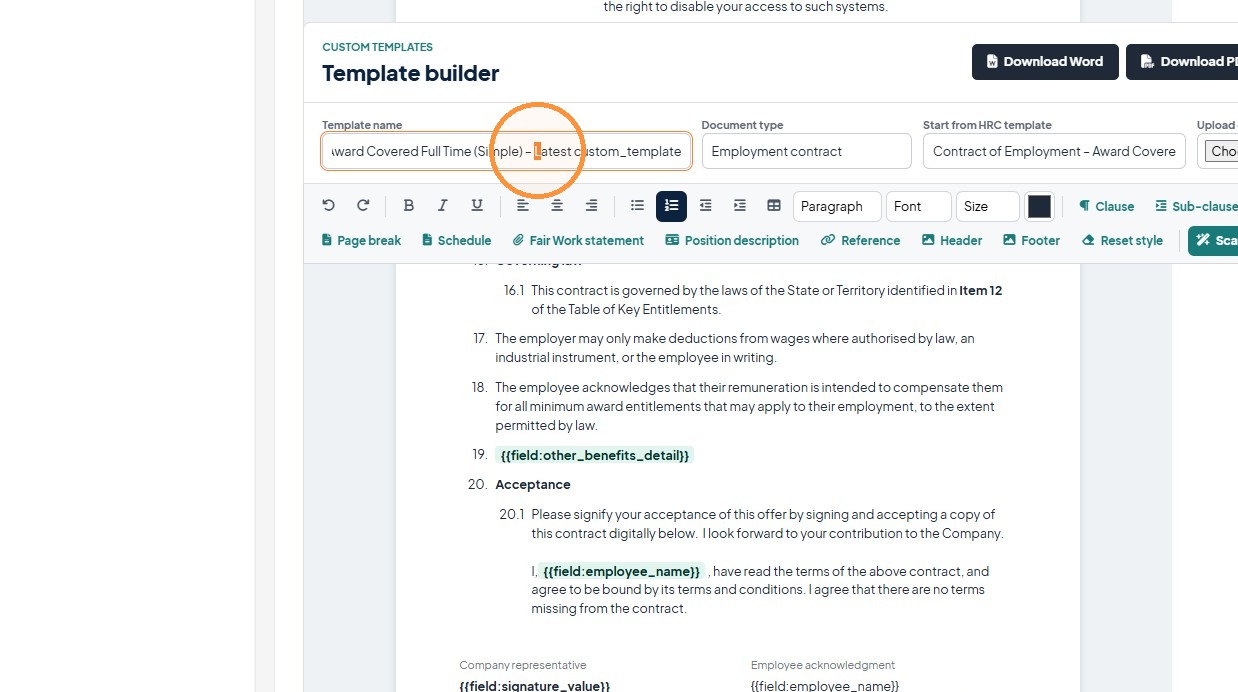
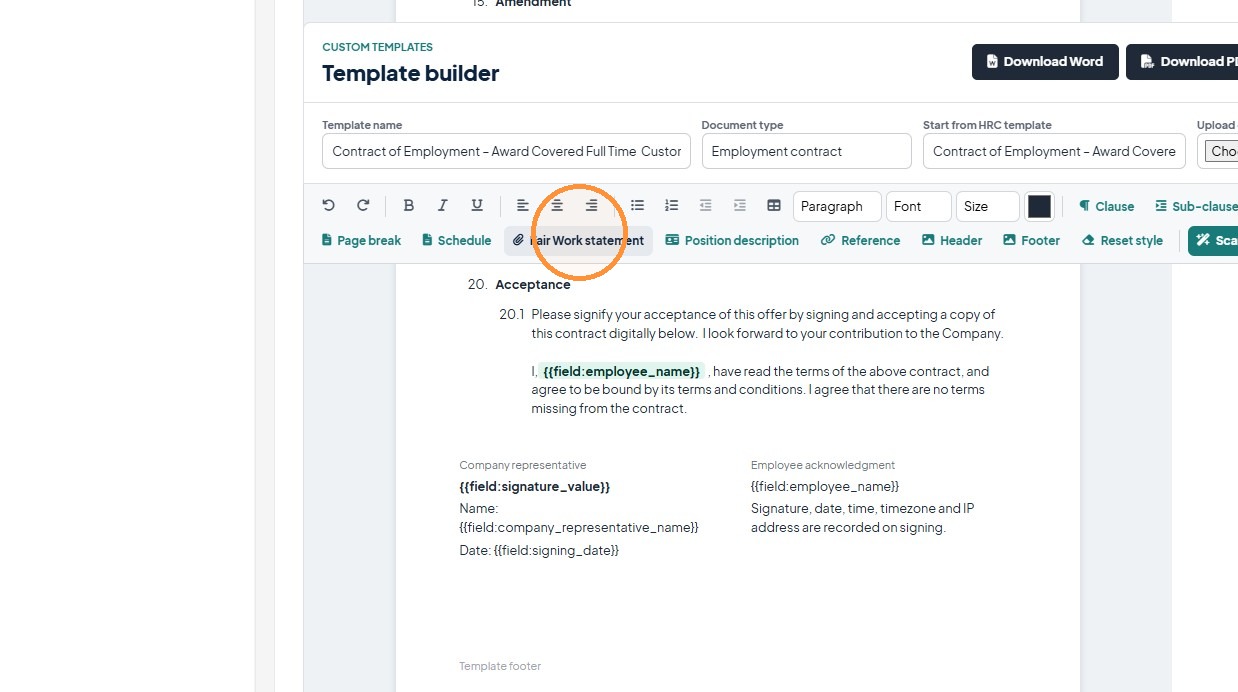
29. Adding fair work statements is easy - Select if its a standard or casual Fair Work Statement. Click "Fair Work statement"
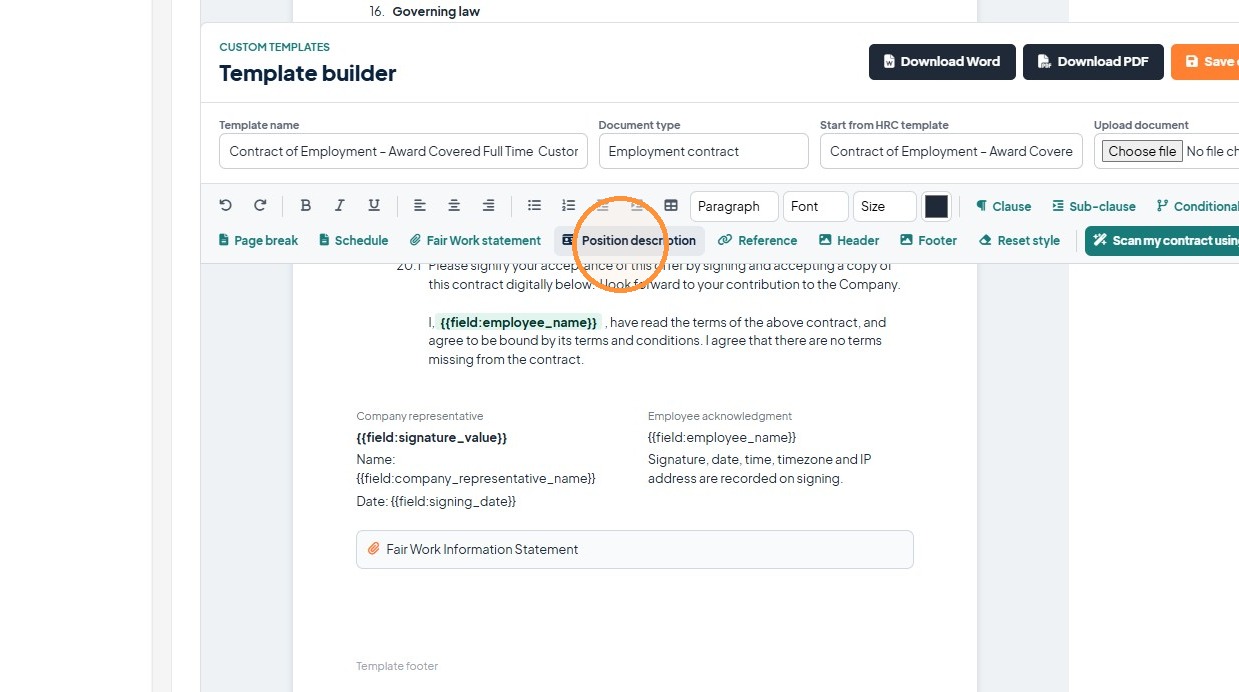
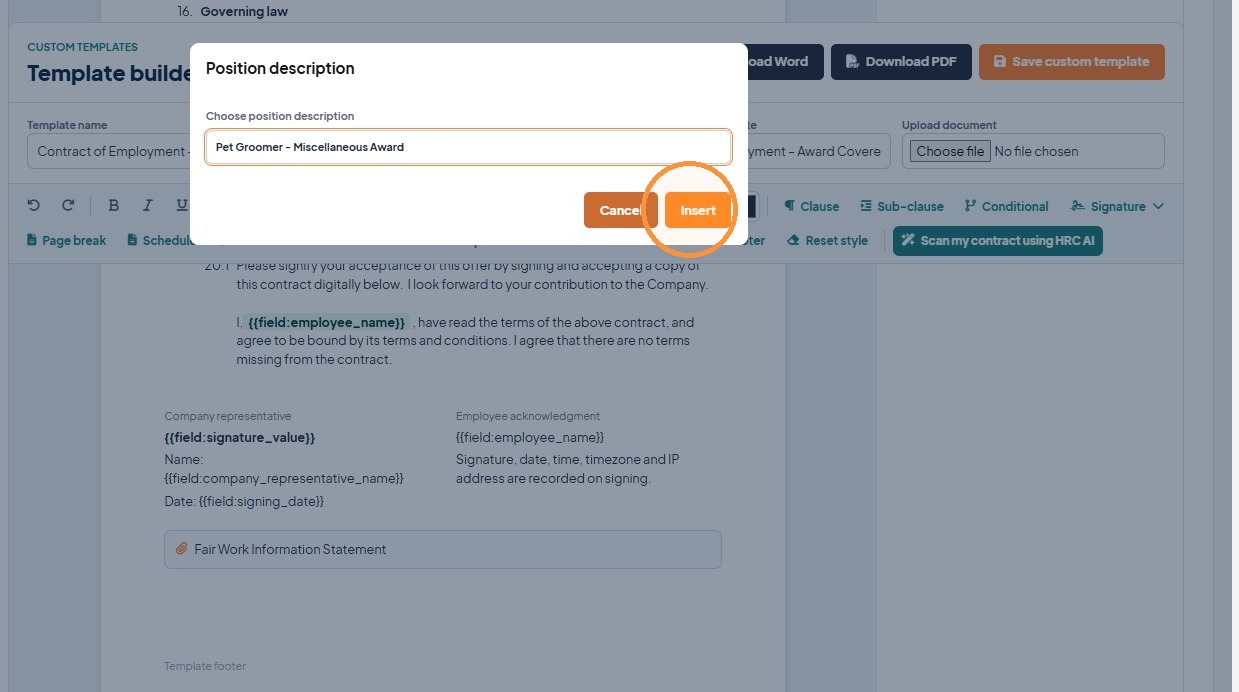
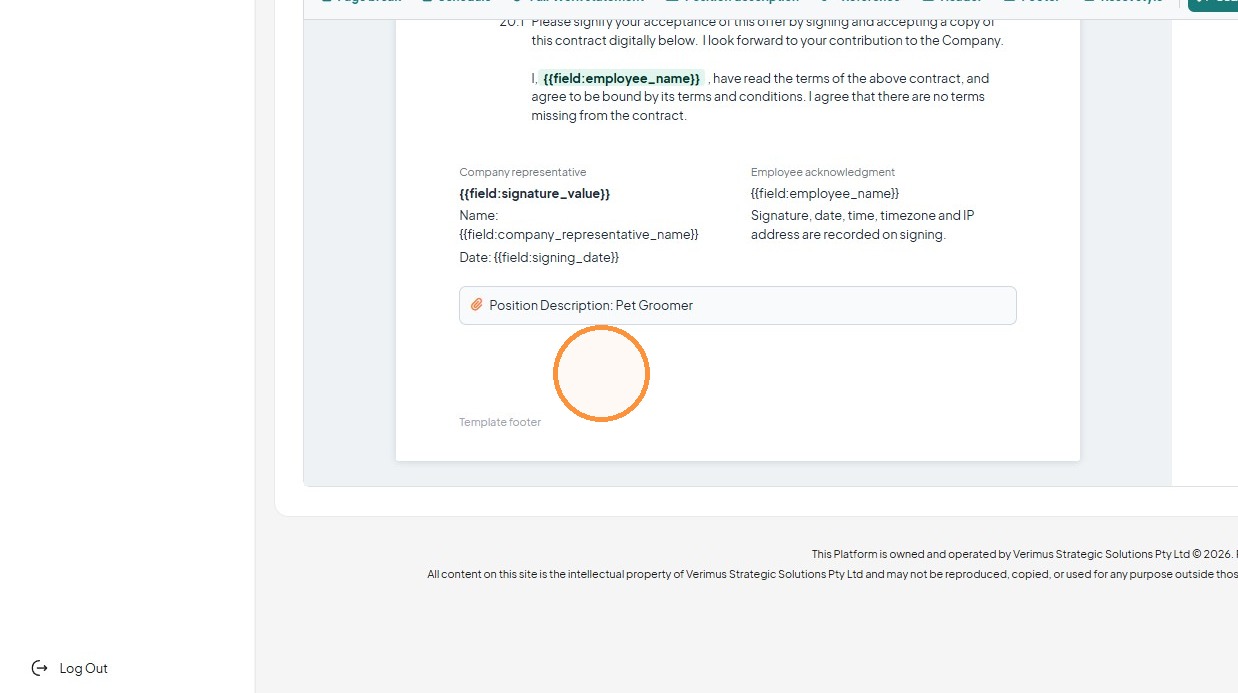
30. Adding a Position Description works the same way as above Click "Position description"
31. Double-click this dropdown.
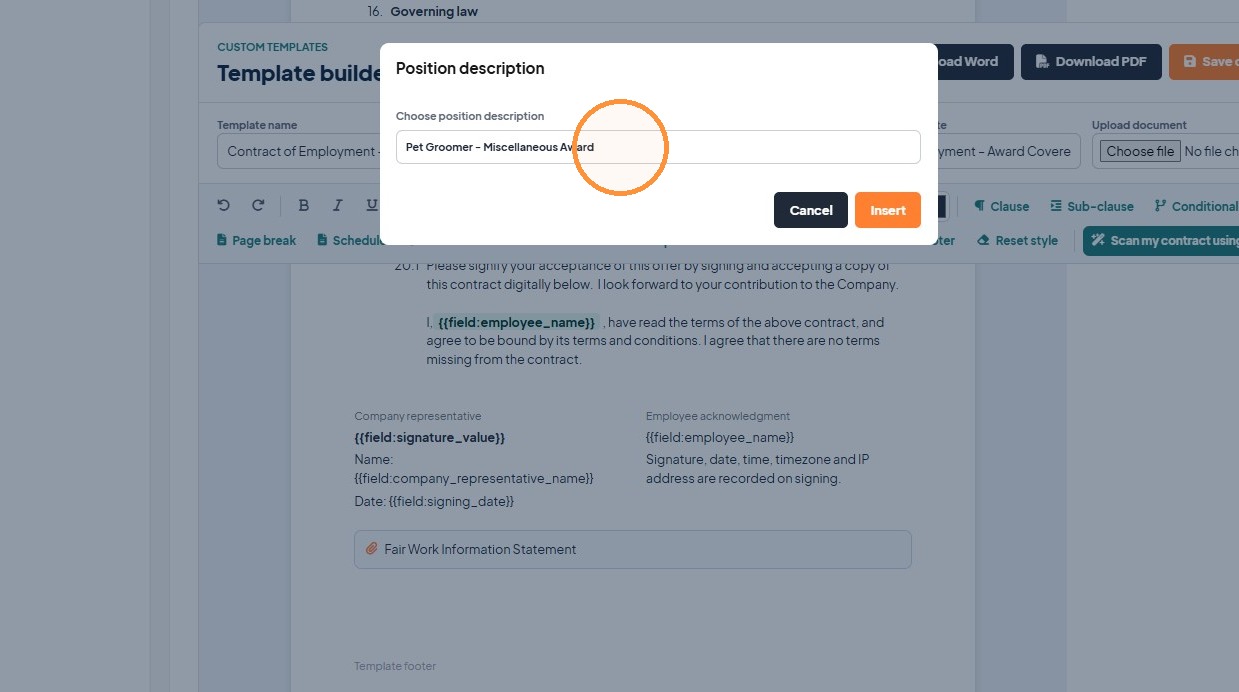
32. Click "Insert"
33.
Template Completion
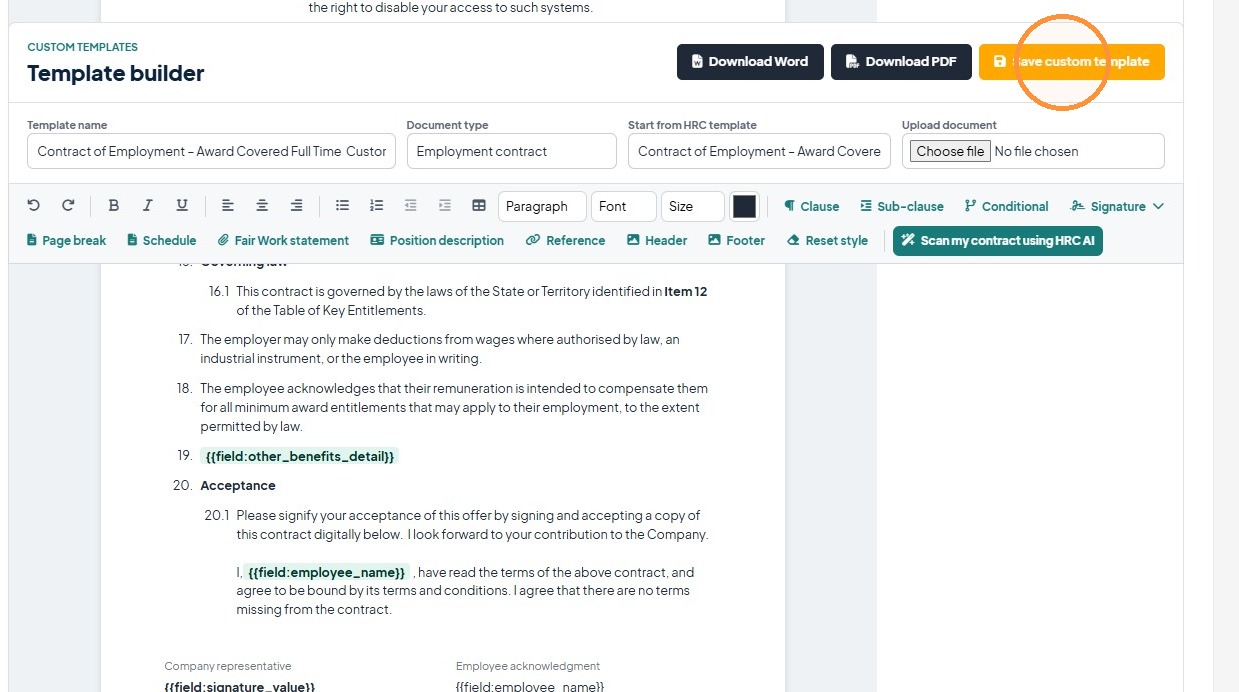
34. Click "Save custom template"
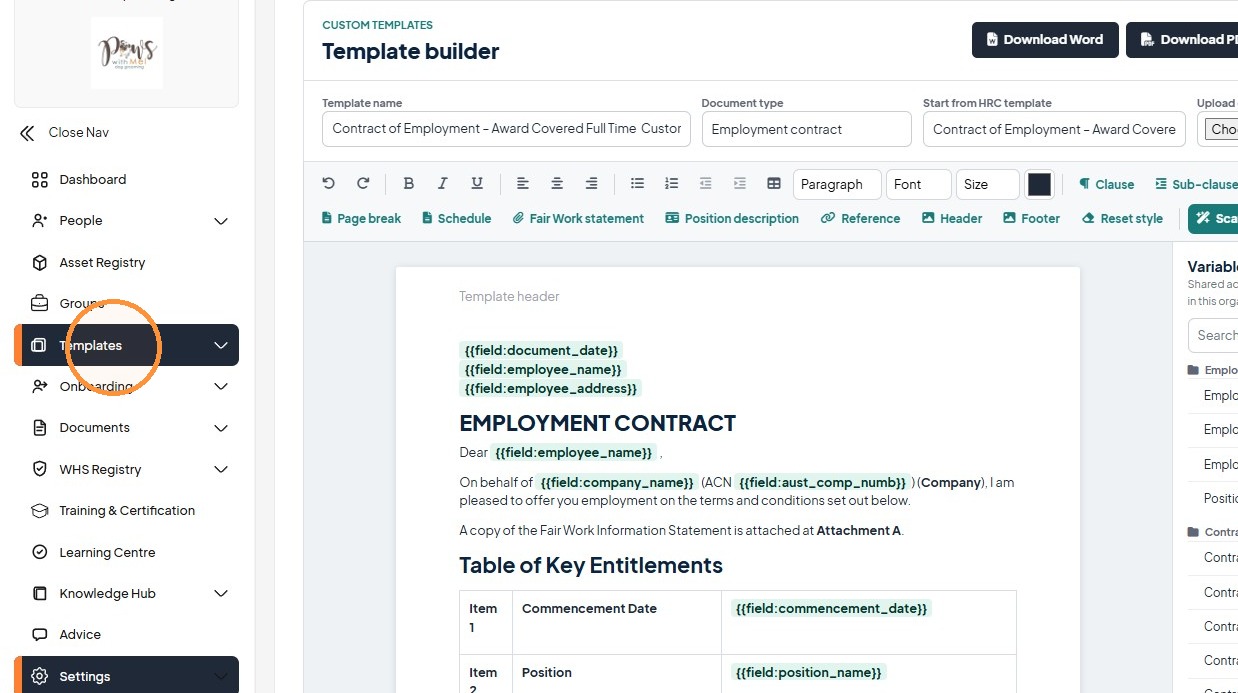
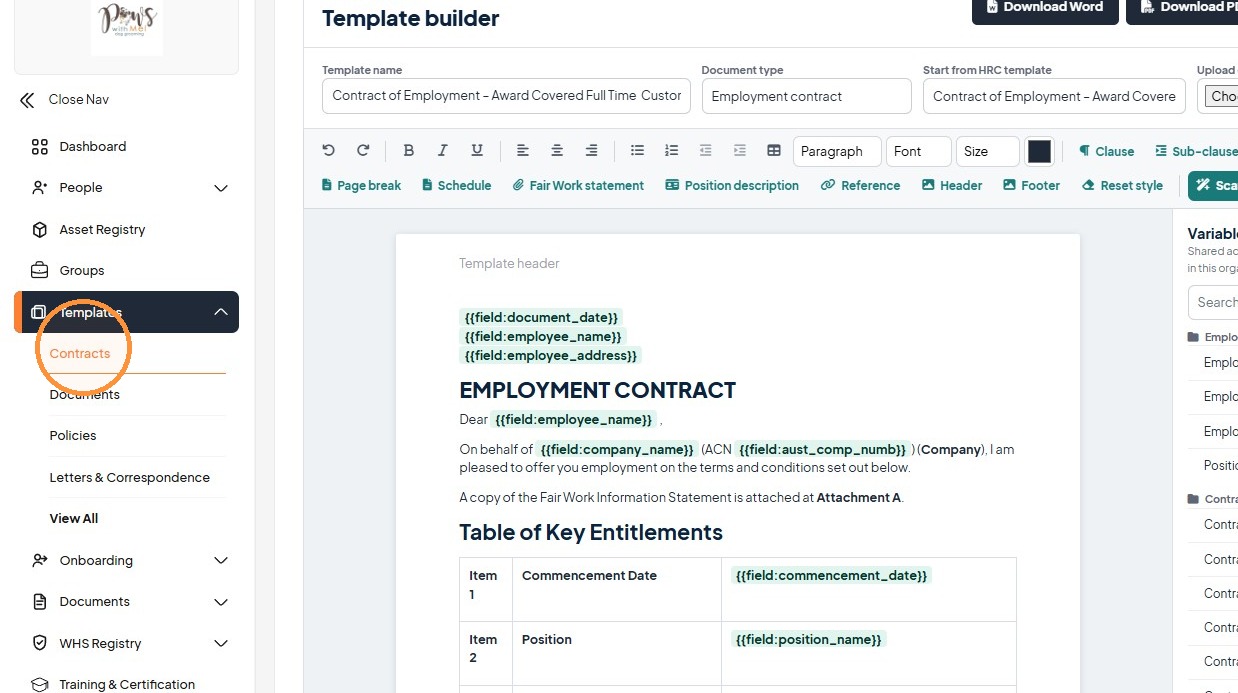
35. Now to use the custom template - Click "Templates"
36. Click "Contracts"
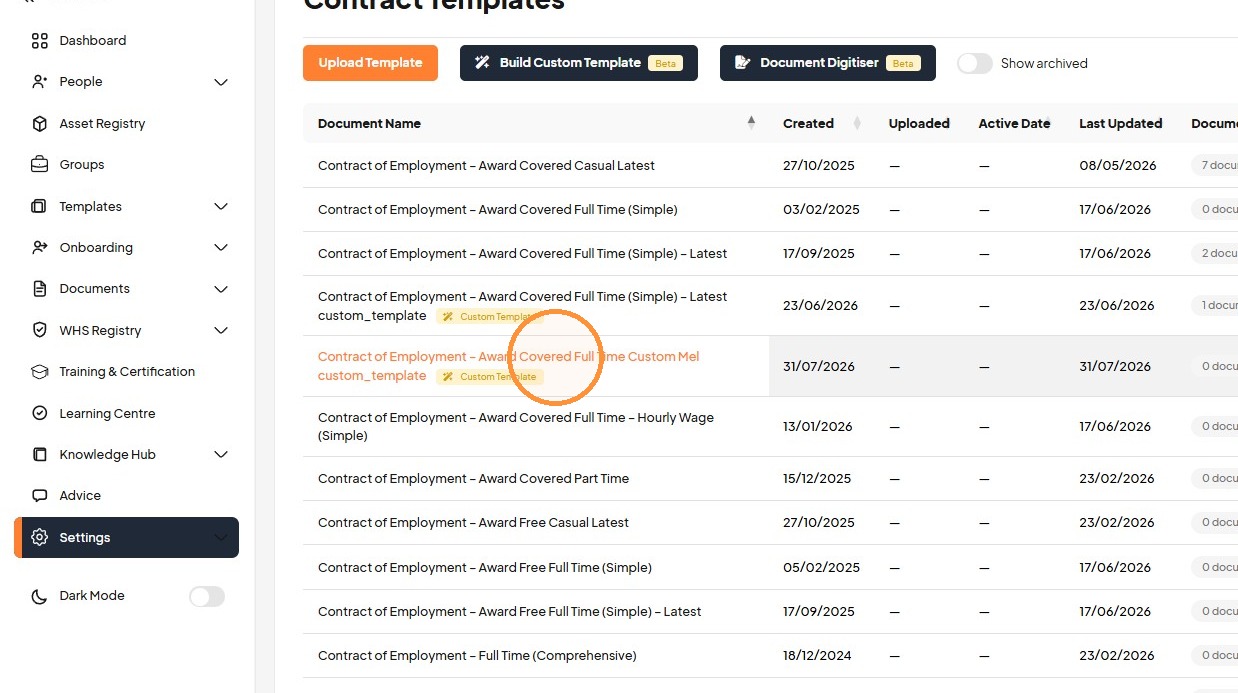
37. Click "Contract of Employment – Award Covered Full Time Custom Mel custom_template"
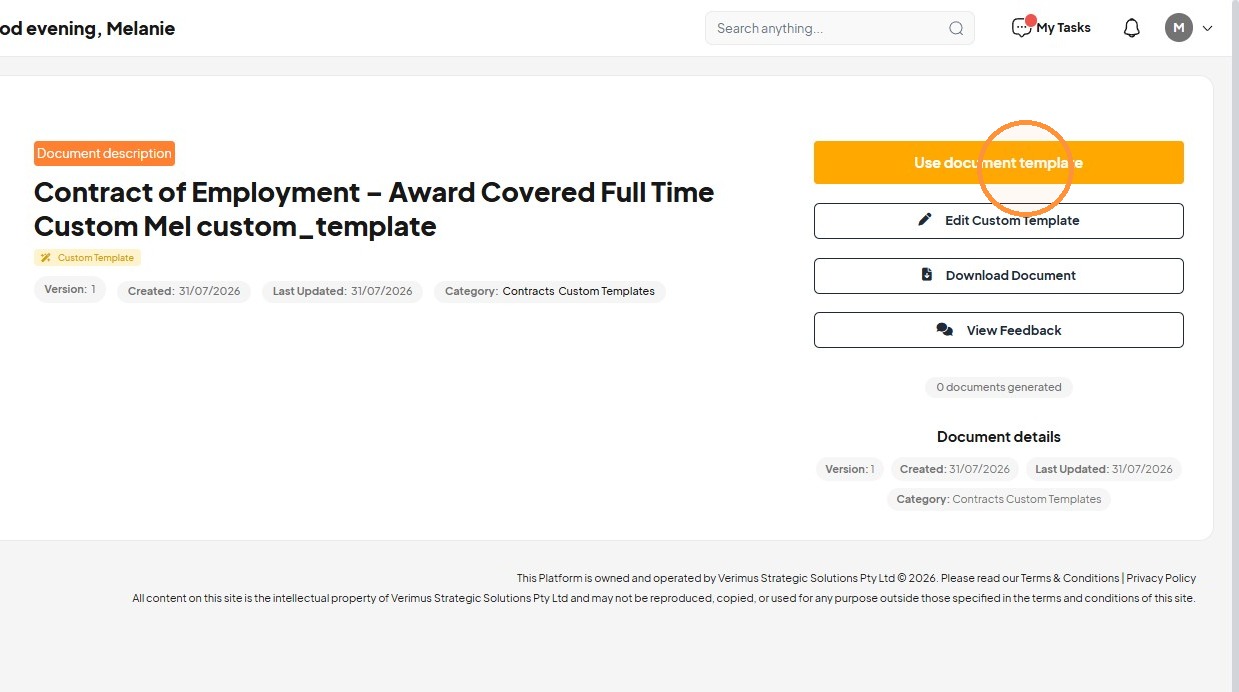
38. Click "Use document template"
Contract Creation
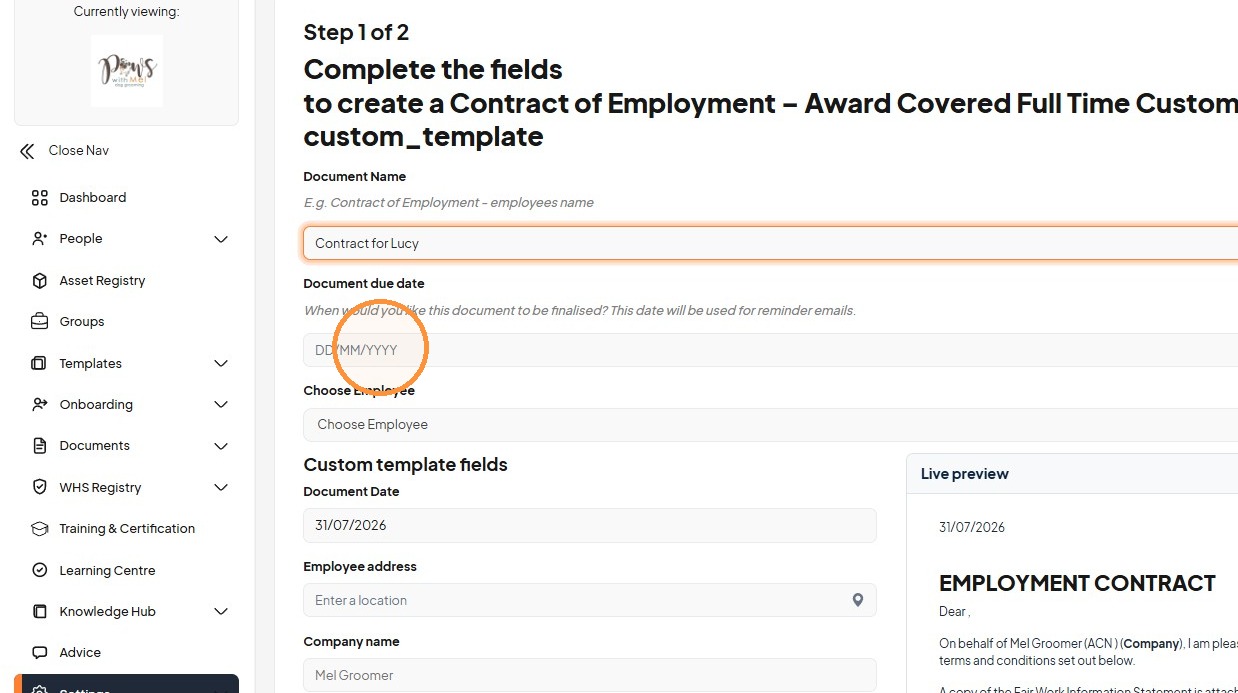
39. Type "Contract for Lucy" in the Document Name field
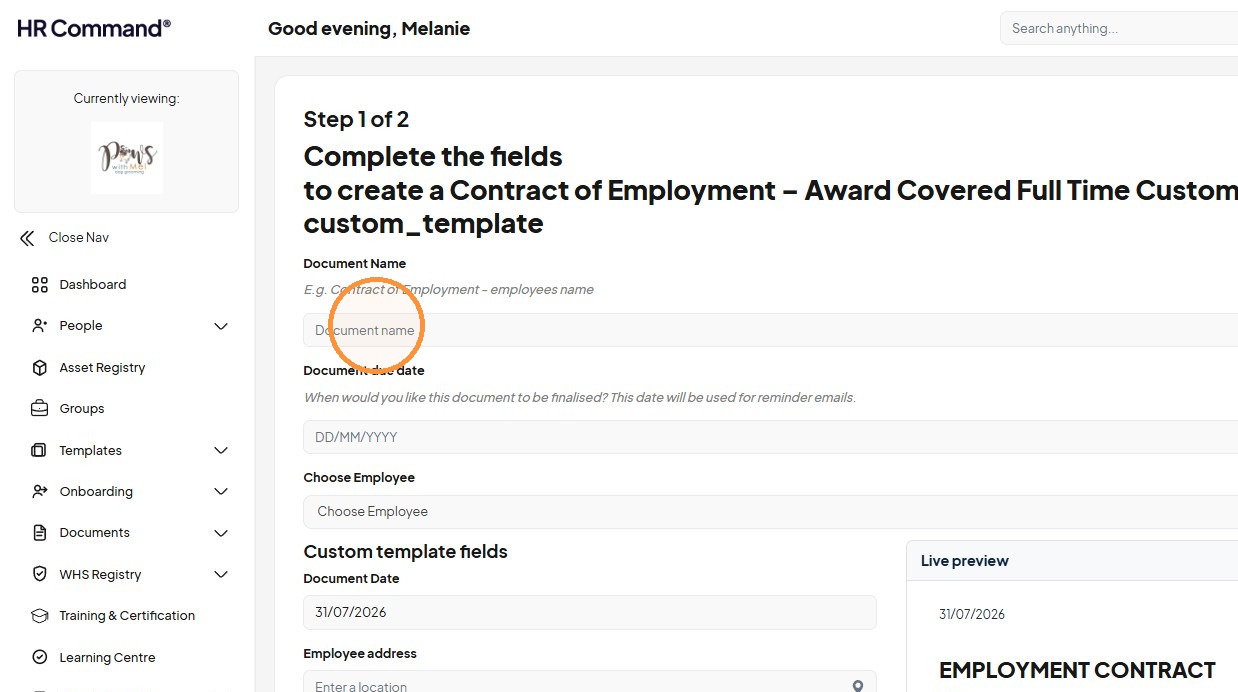
40. Set the document due date to 31/07/2026
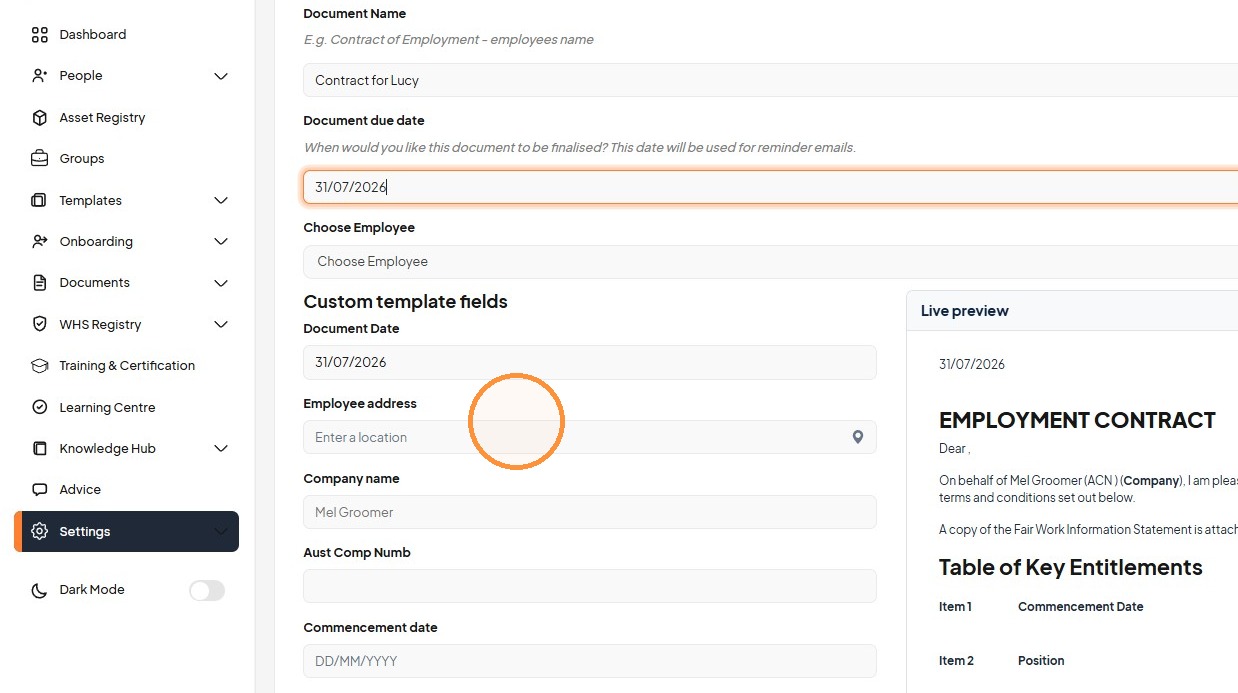
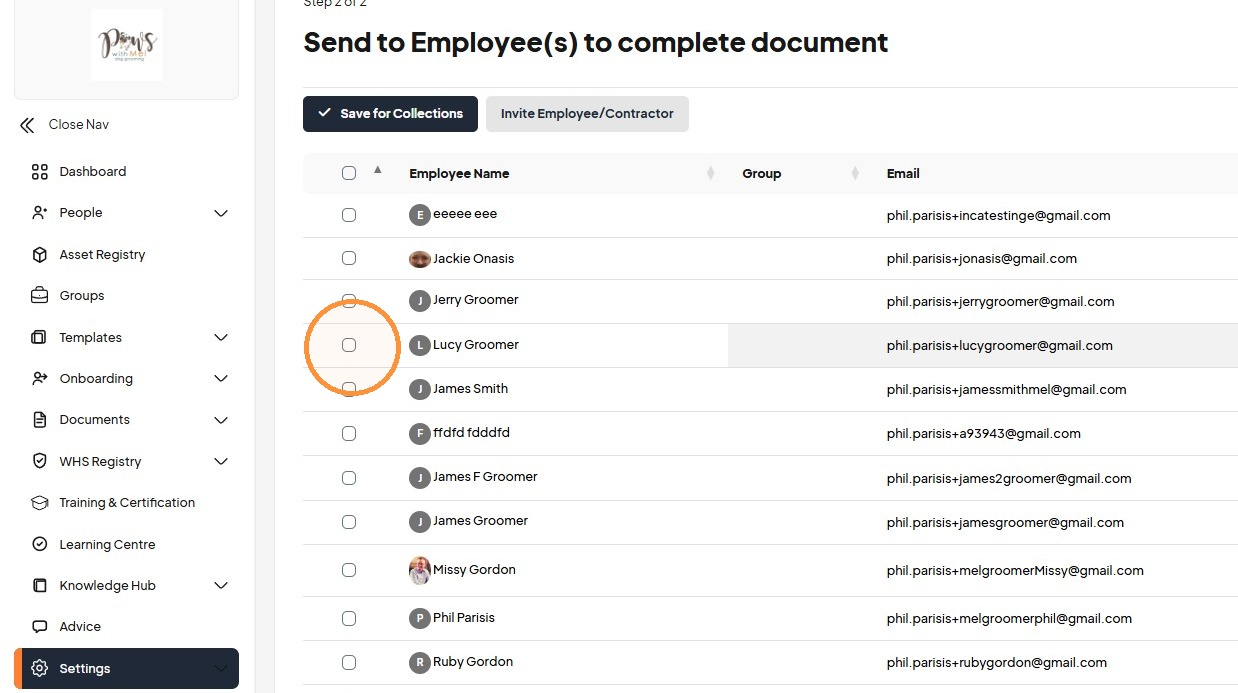
41. Click "Choose Employee"
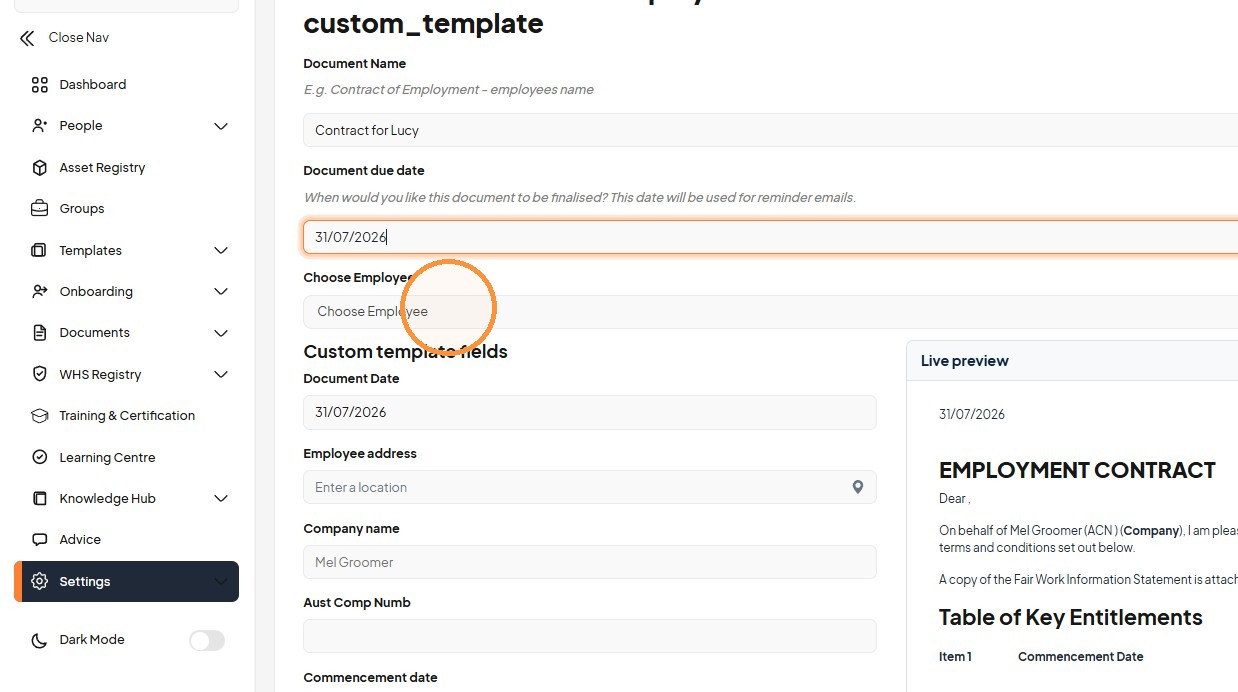
42. Click "Lucy Groomer <phil.parisis+lucygroomer@gmail.com>"
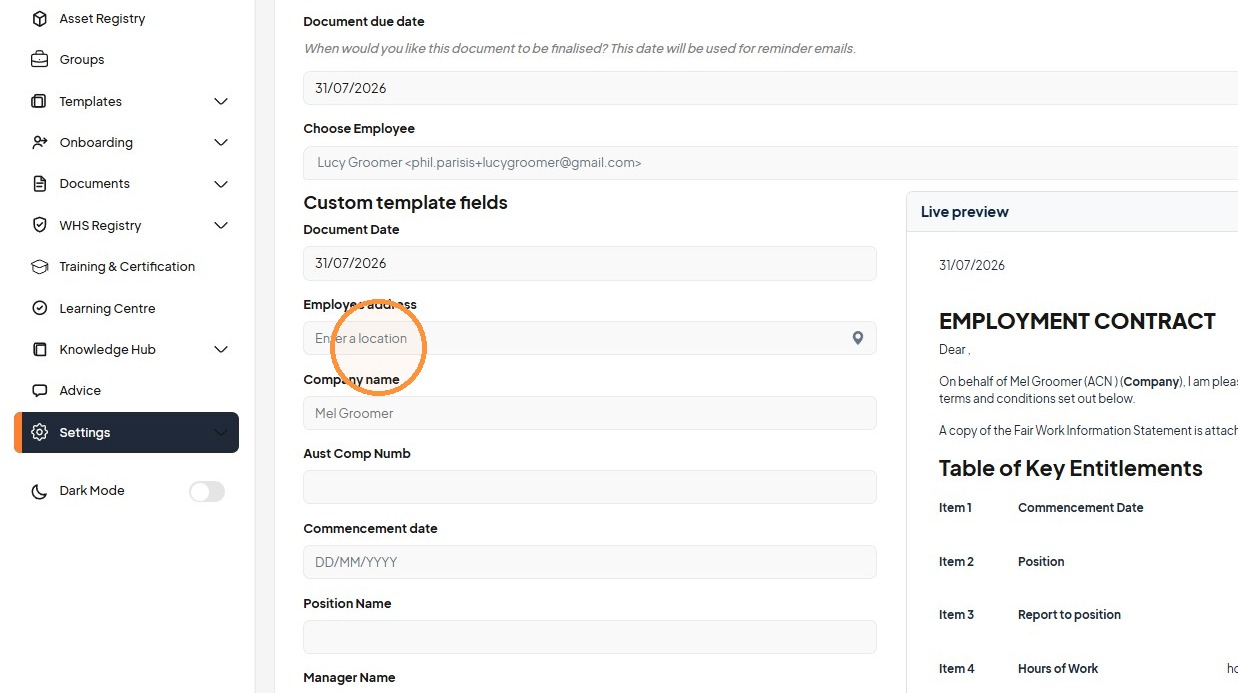
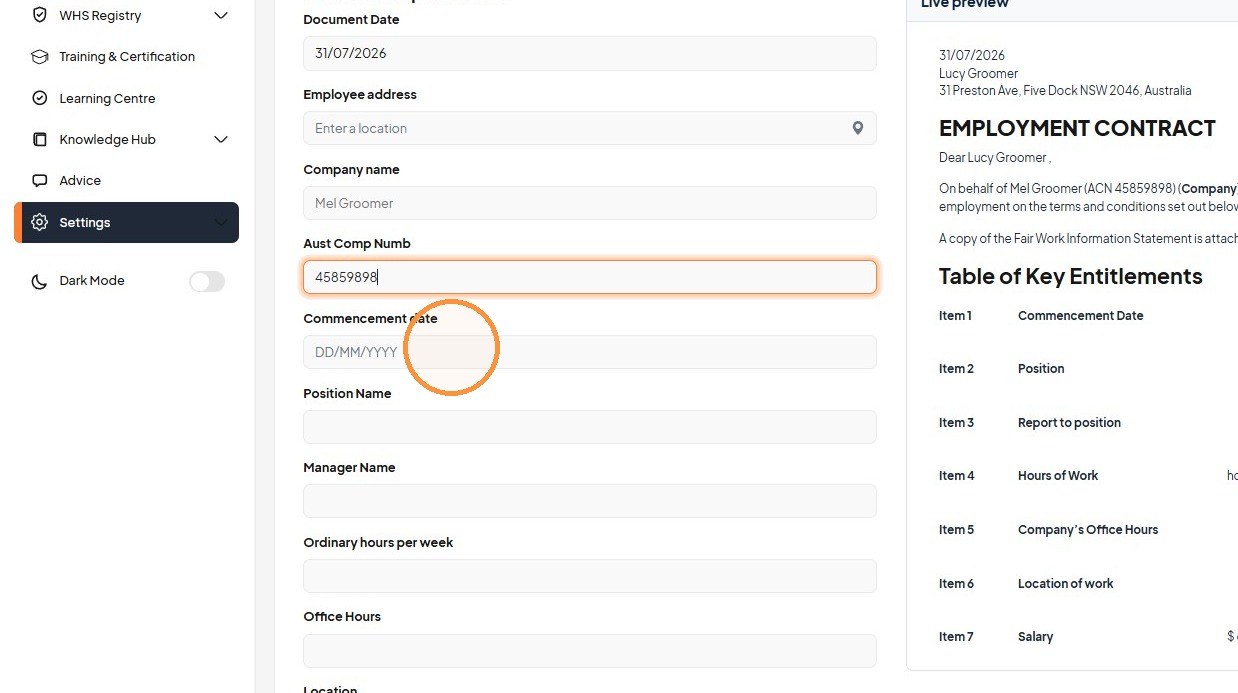
43. Enter "45859898" in the Aust Comp Numb field
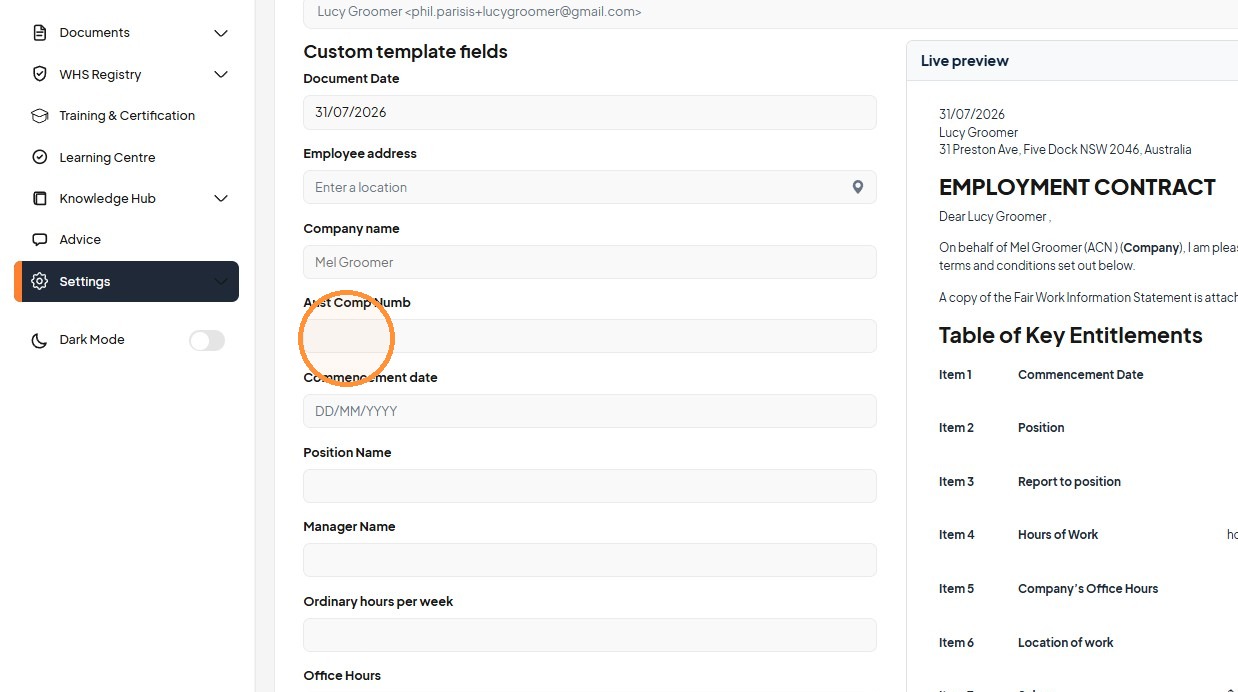
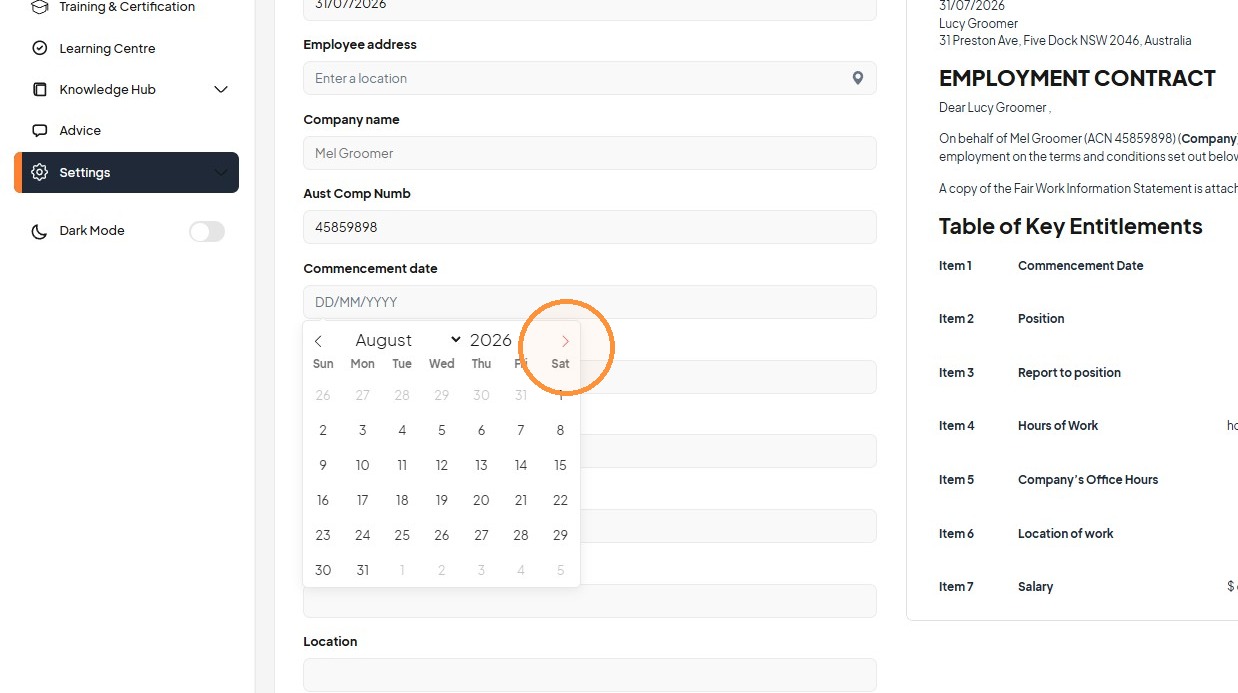
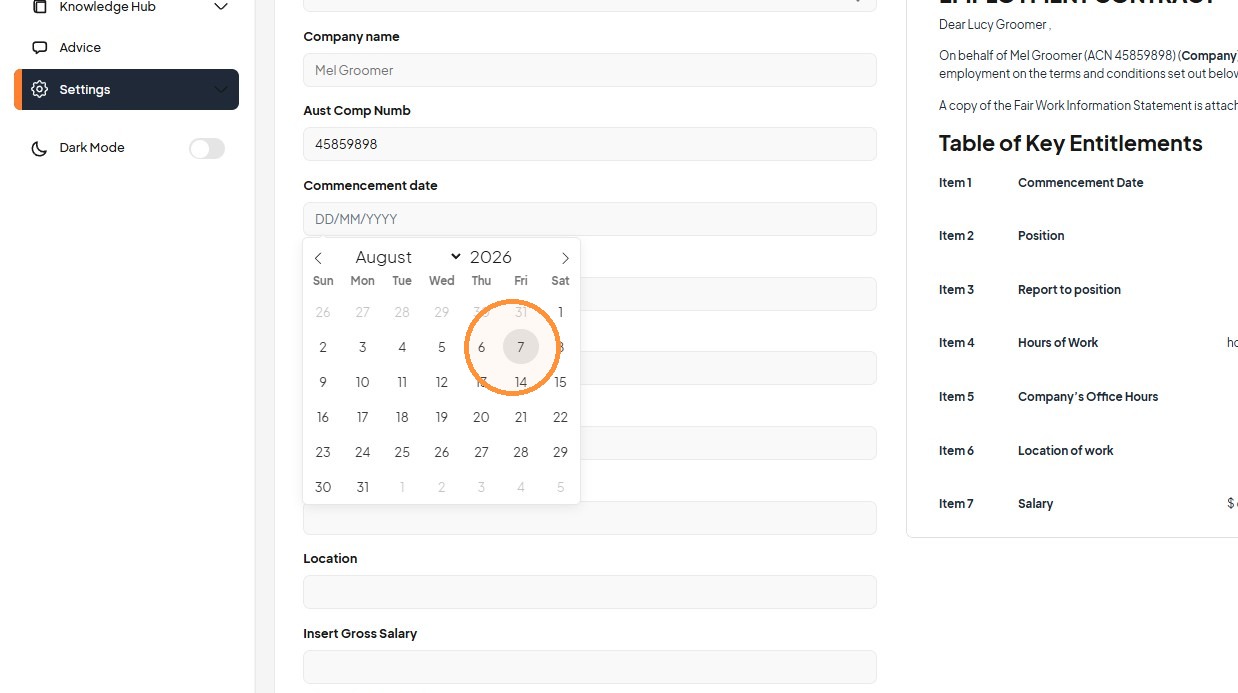
44. Set the Commencement date to 07/08/2026
45. Enter the position name, manager name, and ordinary hours per week
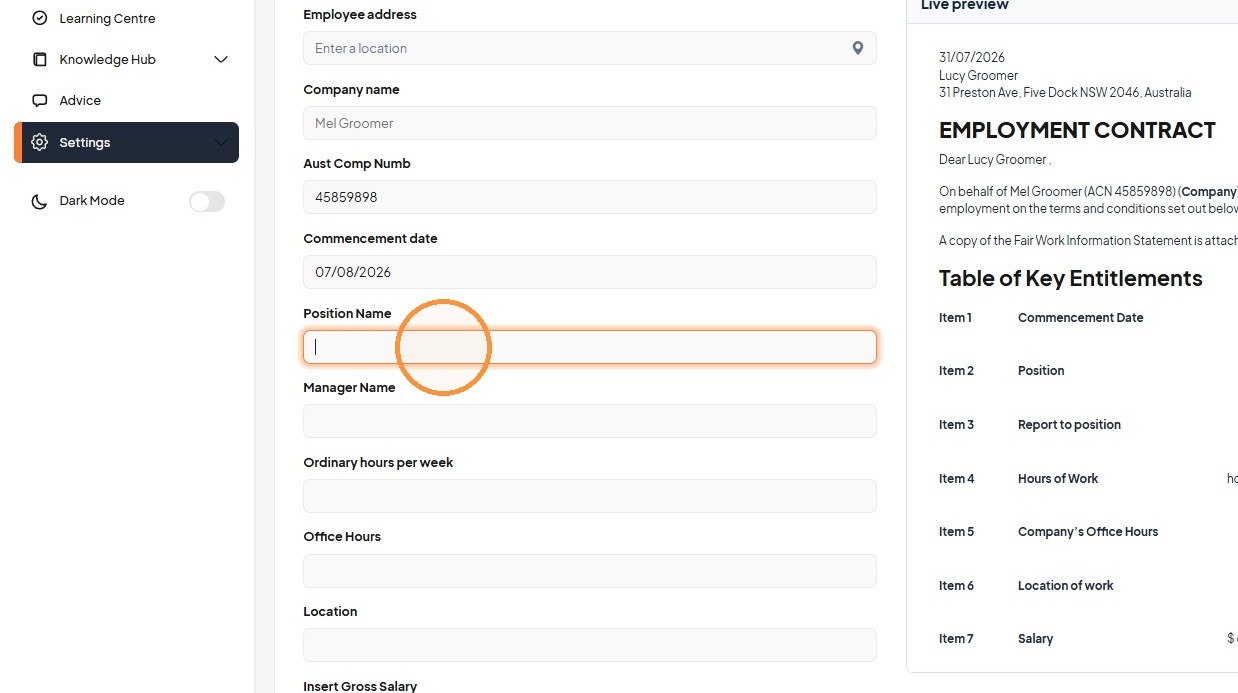
46. Enter 38 ordinary hours per week
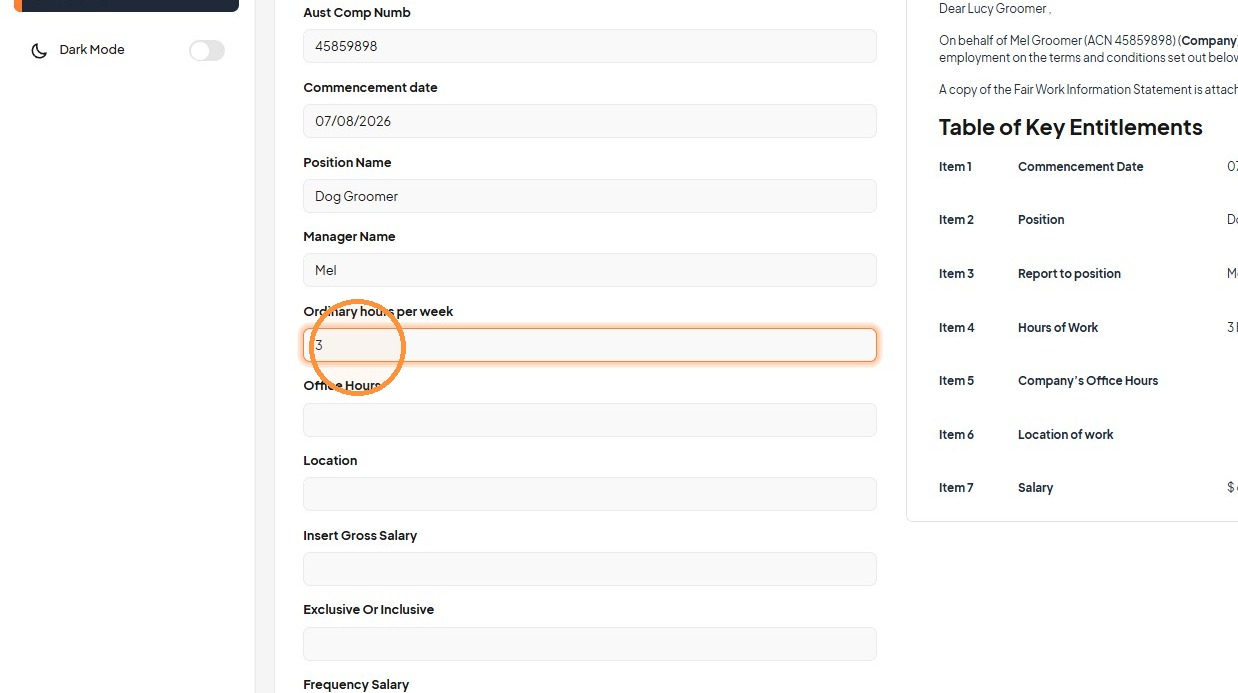
47. Enter "8-5" in the Office Hours field
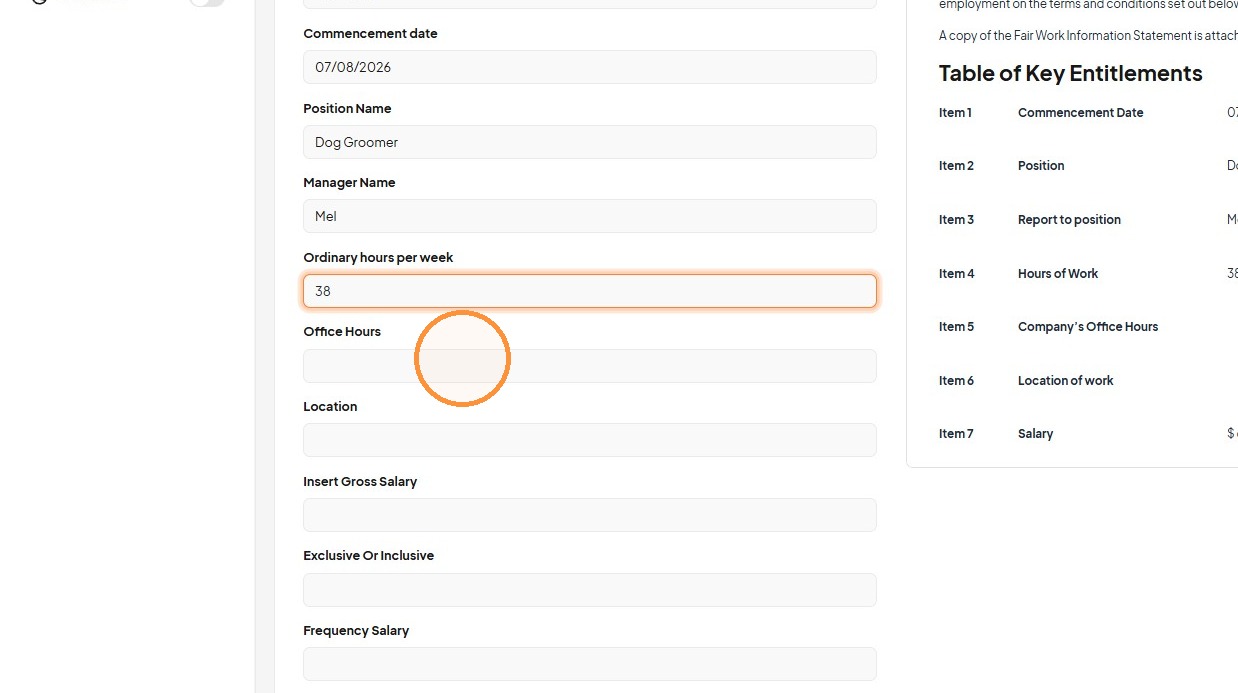
48. Enter the location, salary, and salary basis
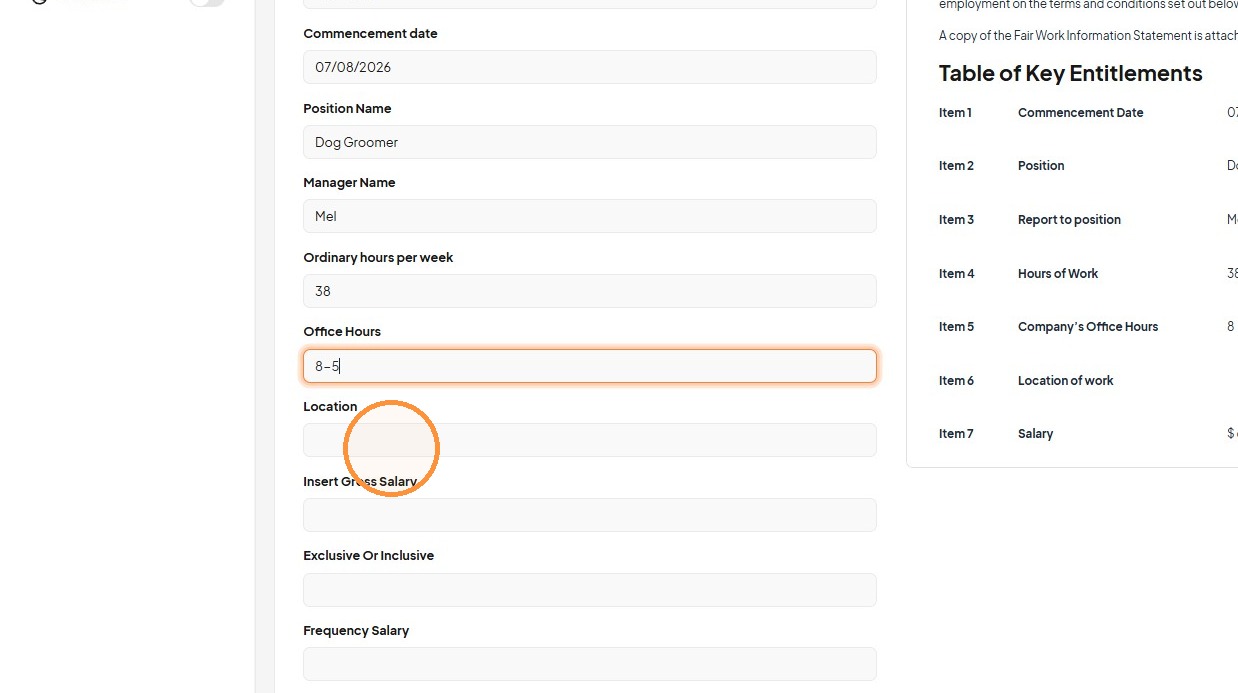
49. Set the salary frequency to Weekly and enter "Misc" for Awardlevels
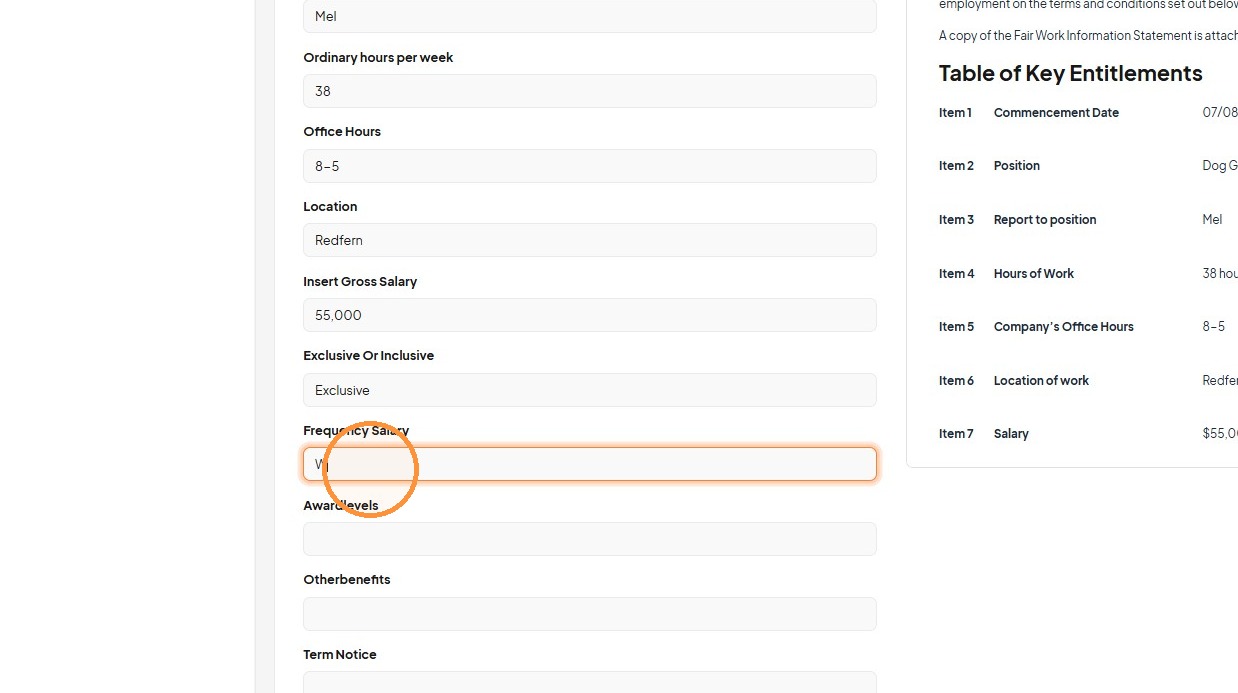
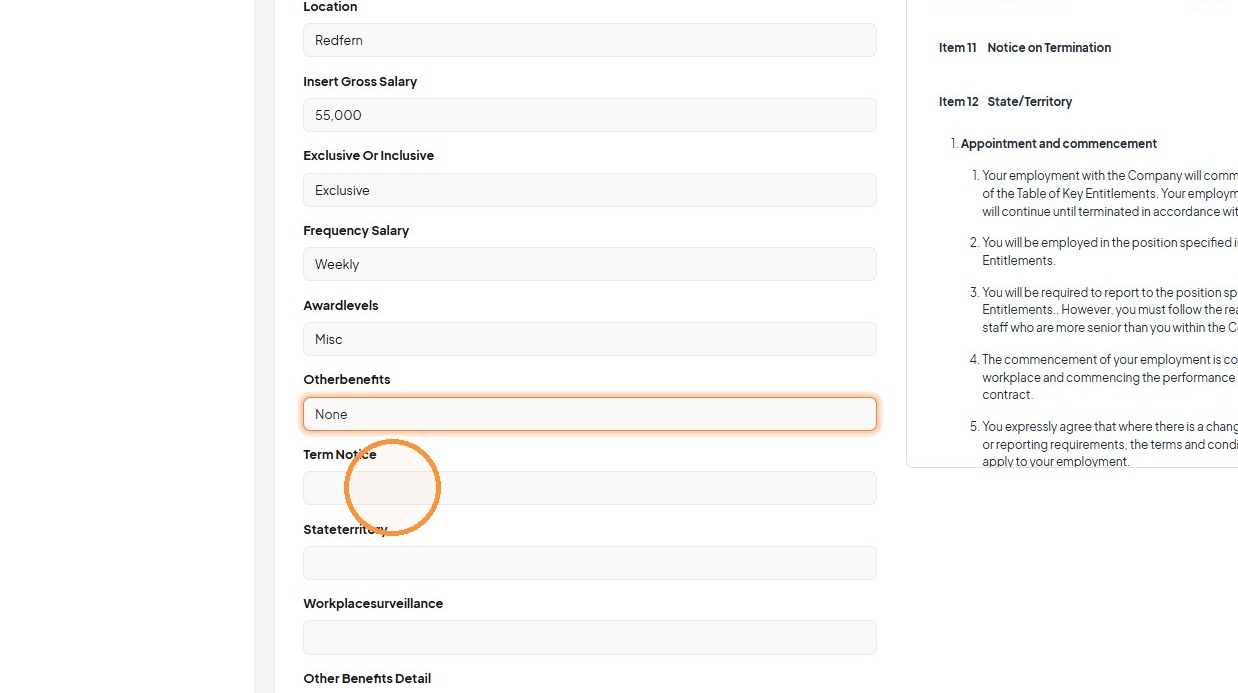
50. Enter "None" in the Otherbenefits field
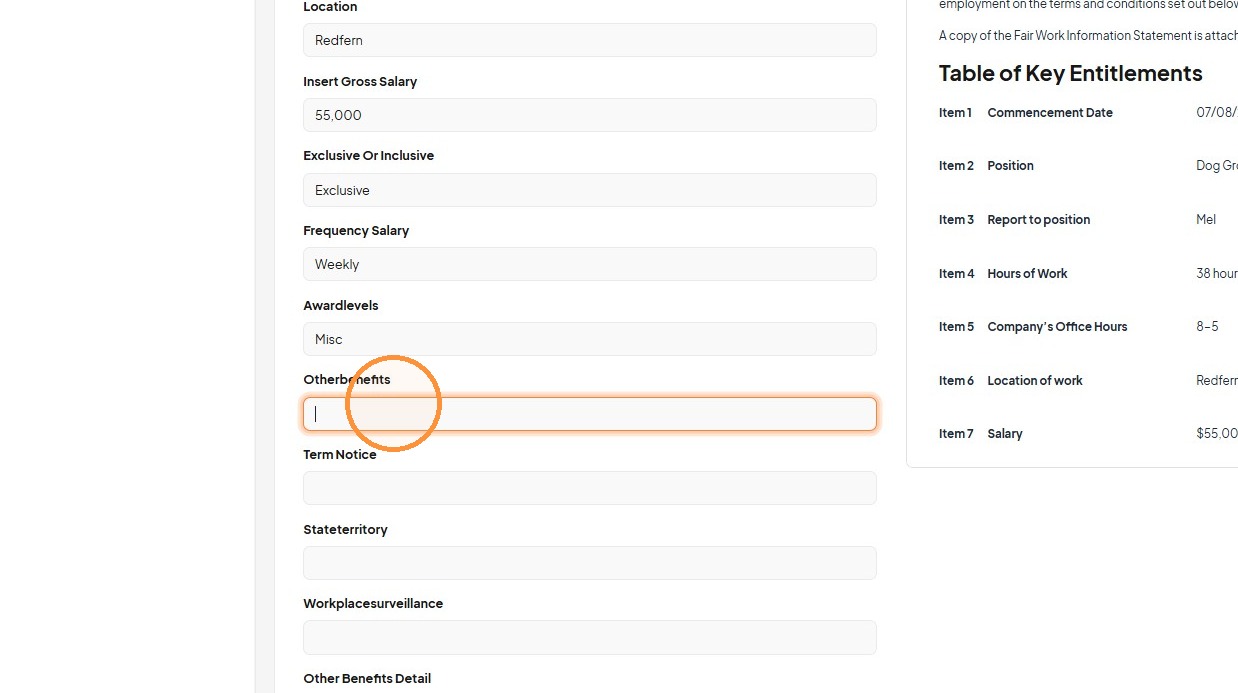
51. Enter the notice period, state or territory, and workplace surveillance values
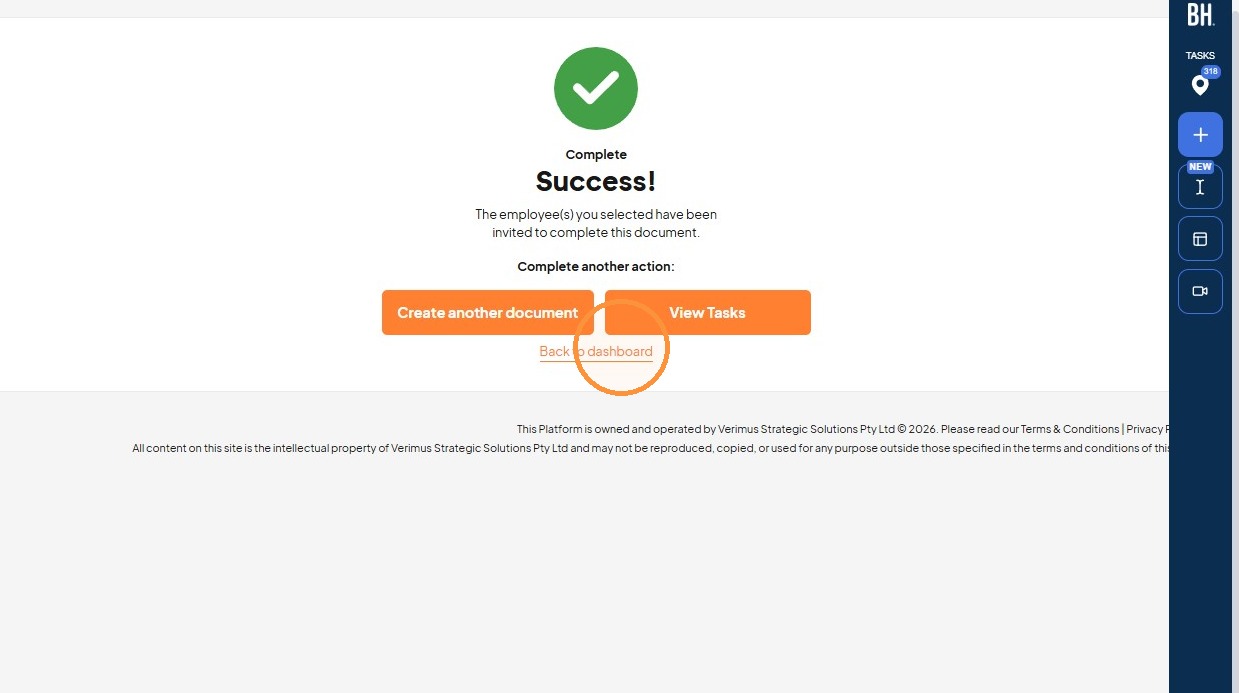
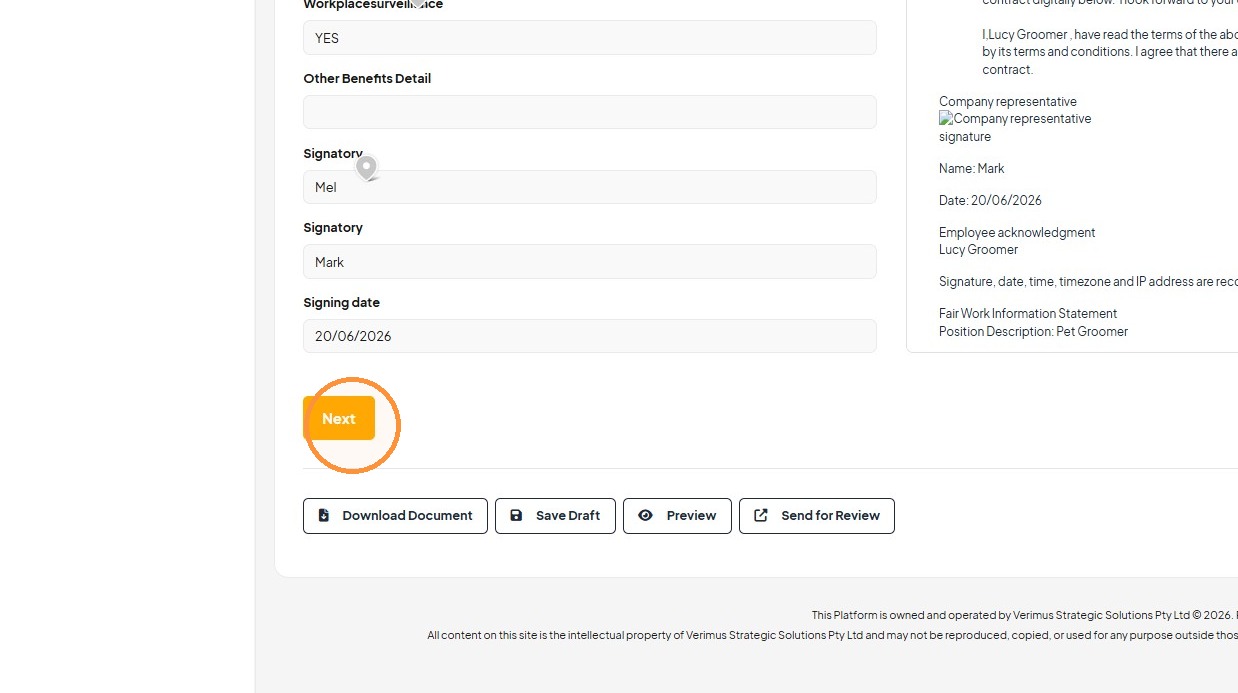
52. Enter "Mel" in the first Signatory field
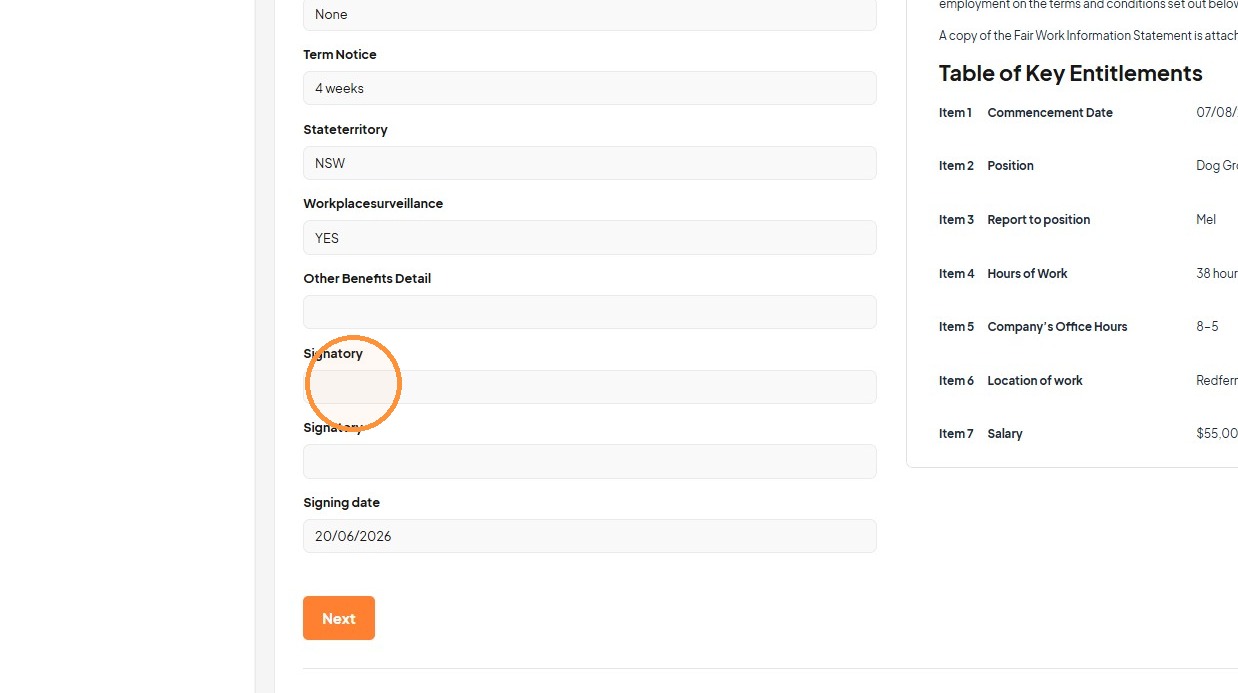
53. Enter "Mark" in the second Signatory field
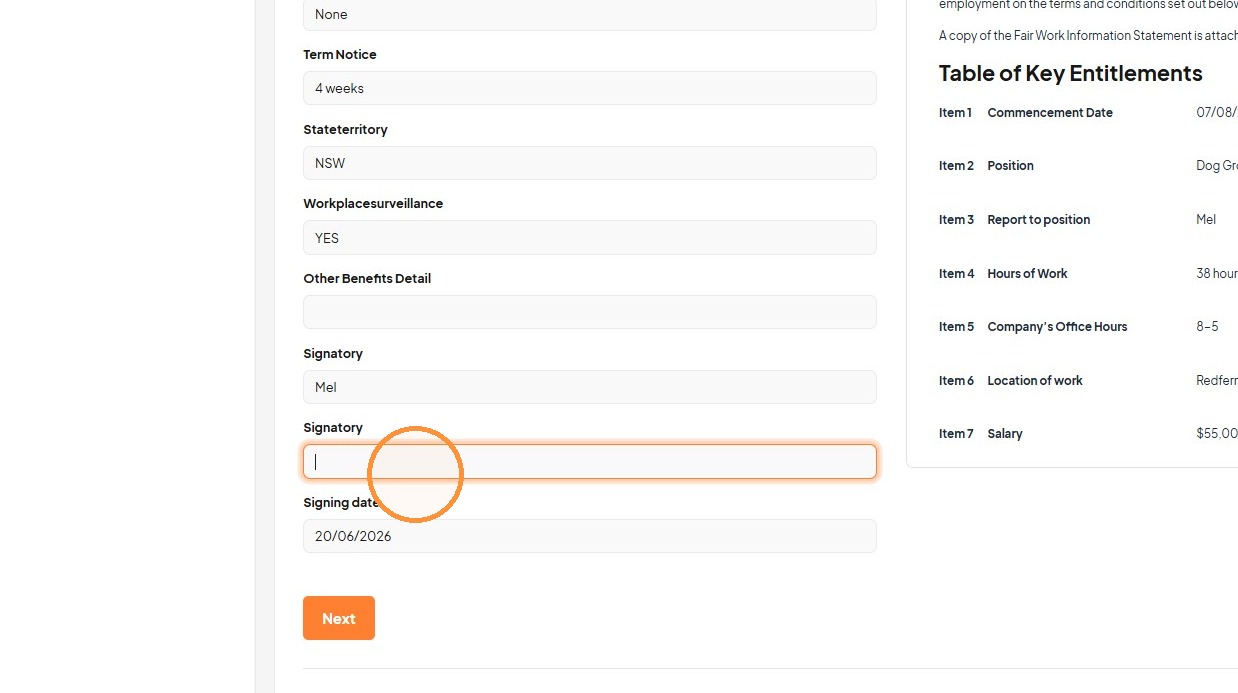
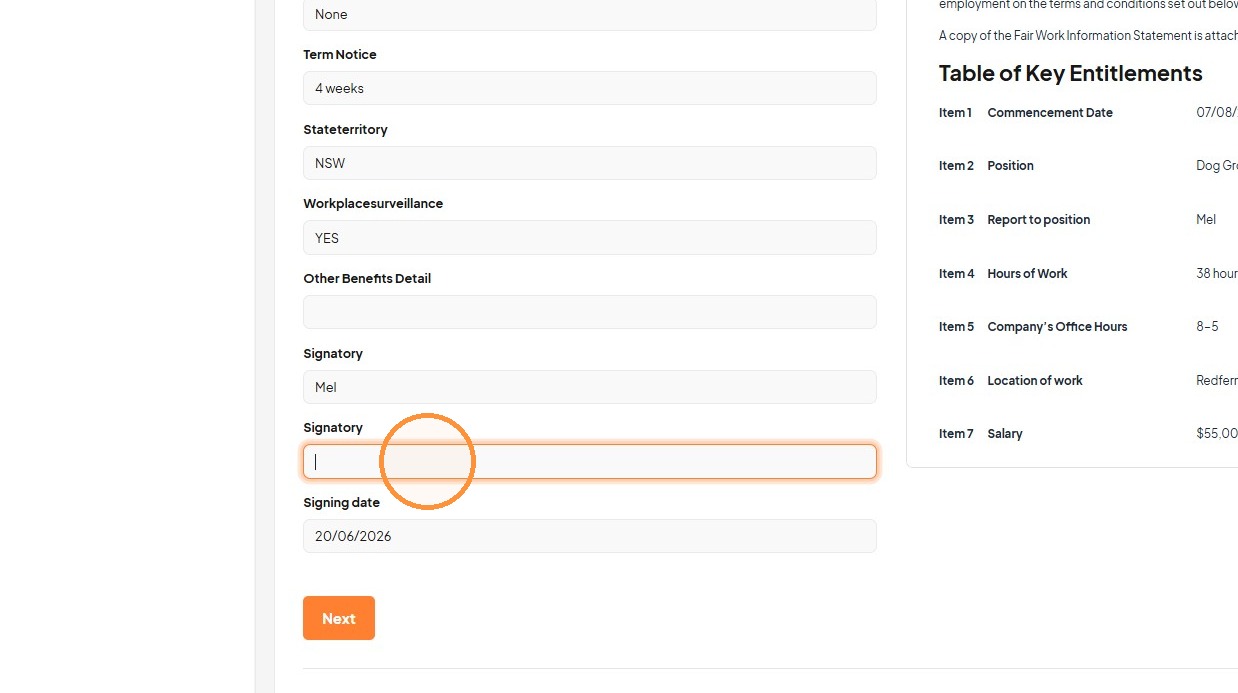
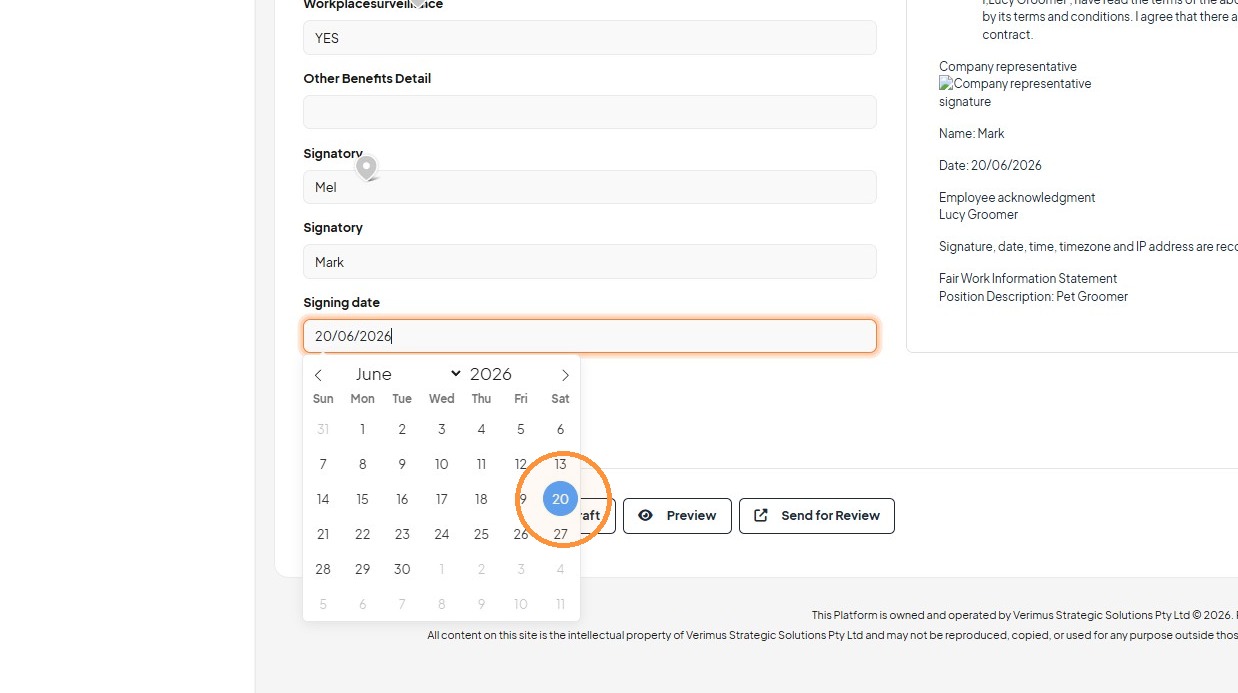
54. Set the Signing date to 20/06/2026
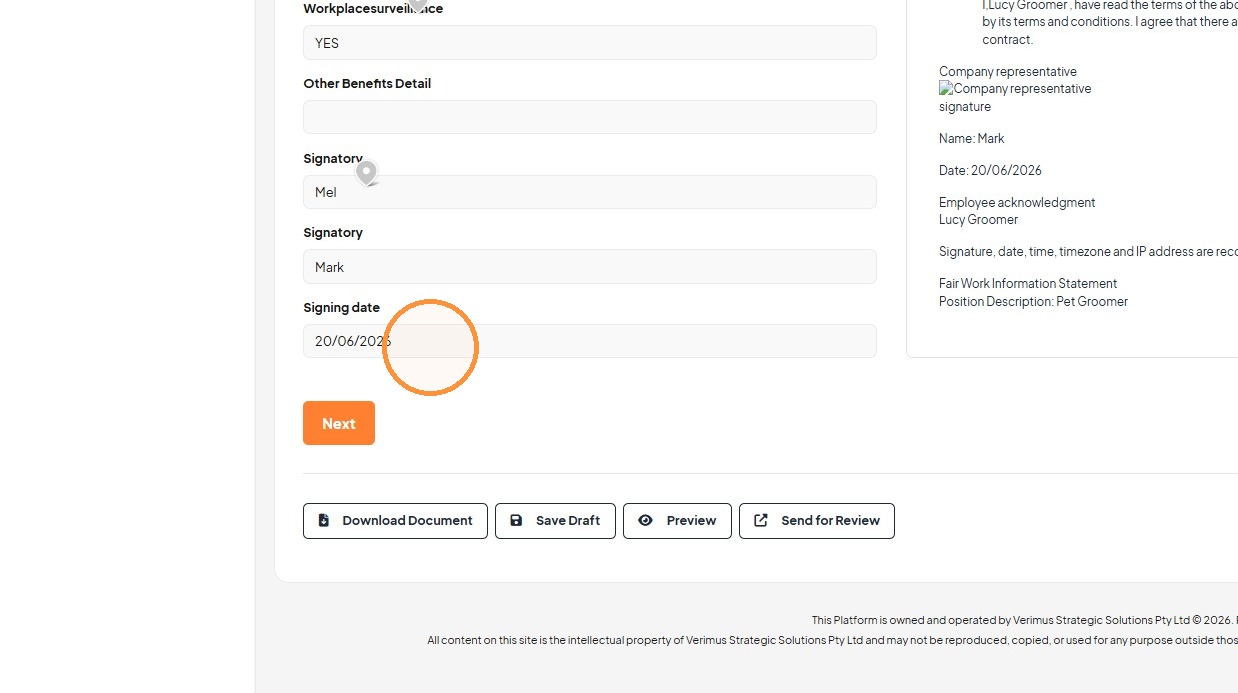
55. Click "Next"
Employee Assignment
56. Click this checkbox.
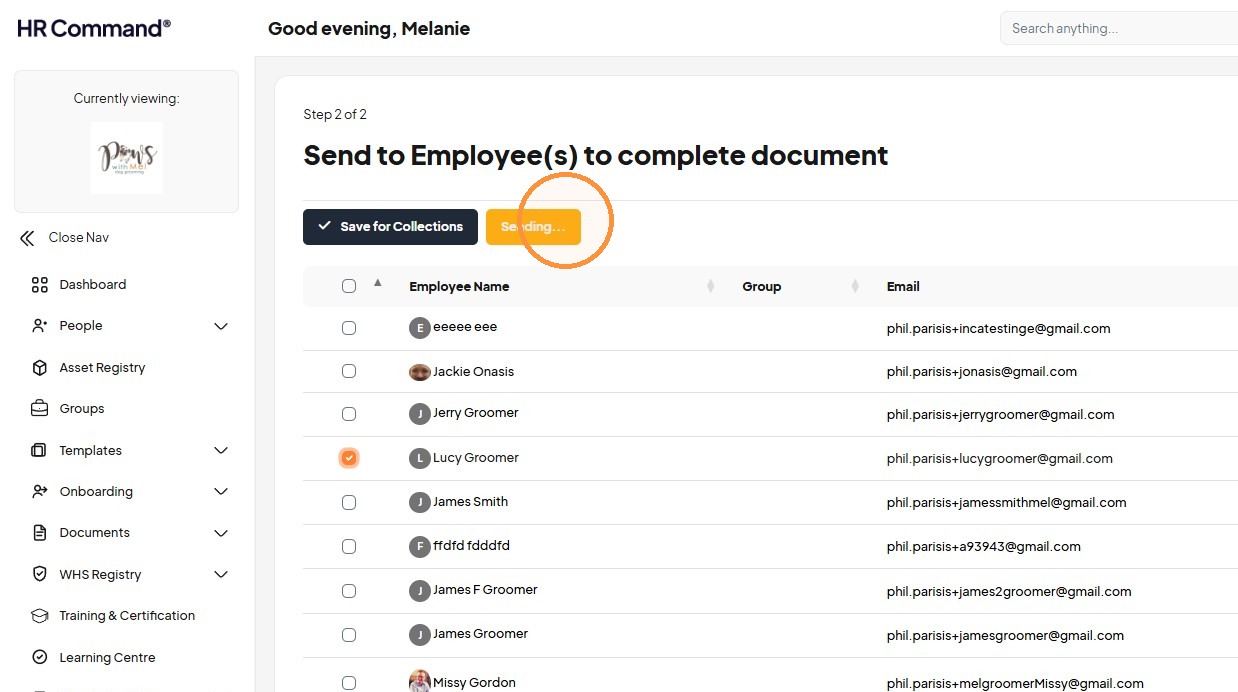
57. Click "Sending..."
58. Click "Back to dashboard"